T1-11 siding is a popular choice for homeowners and builders seeking a cost-effective and attractive exterior finish. Made from plywood or oriented strand board (OSB), it features vertical grooves that mimic the appearance of traditional wood siding.
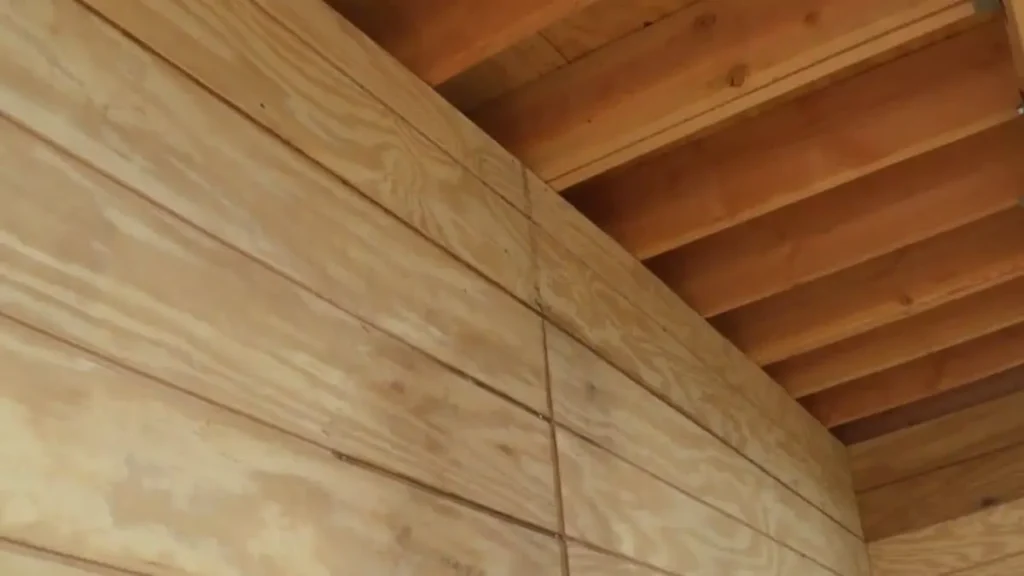
This type of siding is not only easy to install but also offers excellent durability and resistance to weather elements. Traditionally installed vertically, T1-11 siding can also be installed horizontally, offering a fresh and contemporary twist on a classic look.
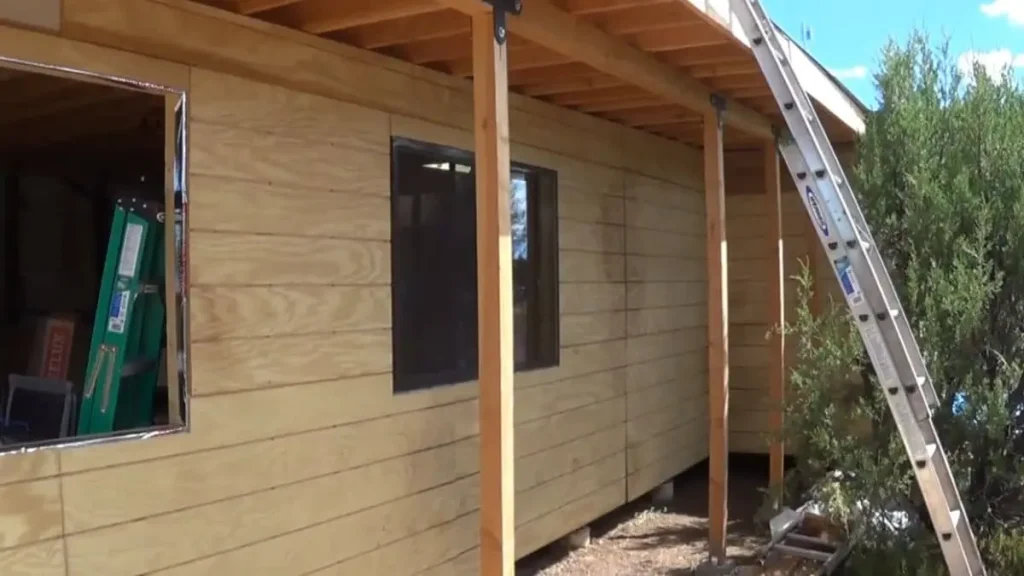
Horizontal installation of T1-11 siding gives homes a unique look that blends well with various architectural styles. Proper maintenance, such as regular staining or painting, ensures its longevity and preserves its visual appeal. Ideal for sheds, barns, and residential homes, T1-11 siding remains a versatile and practical option.
What Is T1-11 Siding?
T1-11 Siding is a type of engineered wood. It is often used for exterior siding or sheds. It is known for its affordable cost and sturdy construction. This siding mimics the look of real wood but is more budget-friendly.
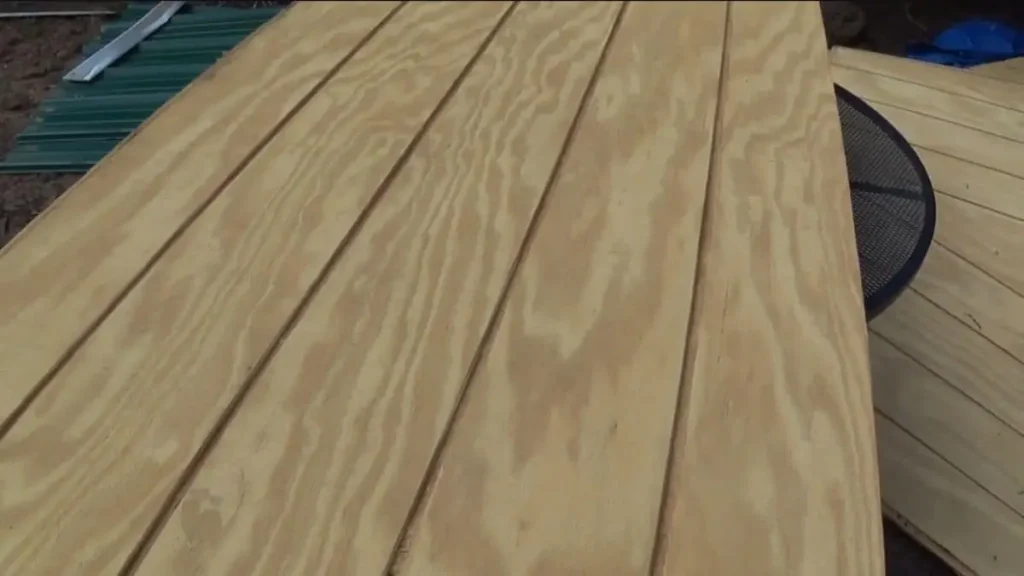
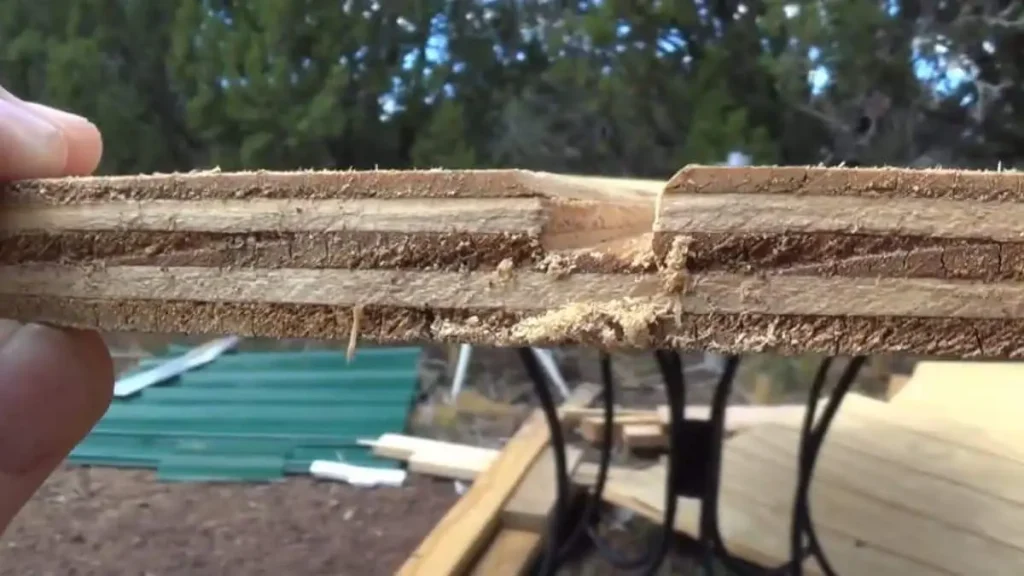
Types of T1-11 Siding
T1 11 Siding comes in two main types: plywood and oriented strand board (OSB). Both types offer great durability and can withstand harsh weather conditions. The plywood type is made from multiple layers of thin wood veneers. OSB is made from wood strands bonded with adhesives.
| Type | Material | Characteristics |
| Plywood | Wood Veneers | Multiple layers, durable |
| OSB | Wood Strands | Bonded with adhesives, strong |
Benefits Of Installing T1 11 Siding Horizontally
T1 11 Siding is a popular choice for homeowners looking to enhance their home’s exterior. One unique way to install T1 11 Siding is horizontally. This method not only adds a fresh look but also brings several benefits. Below, we explore the benefits of installing T1 11 Siding horizontally.
Increased Durability
Installing T1 11 Siding horizontally can significantly increase the durability of your home’s exterior. Here are some key reasons:
- Enhanced Water Resistance: Horizontal installation allows rainwater to flow off more efficiently, reducing the risk of water damage.
- Strong Structural Support: Horizontal boards provide better structural support, preventing sagging and warping over time.
- Less Vulnerable to Wind: Horizontal siding is less likely to be uplifted by strong winds compared to vertical siding.
Consider the following table to compare the durability of horizontal vs vertical installation:
| Feature | Horizontal Installation | Vertical Installation |
| Water Resistance | High | Moderate |
| Structural Support | Strong | Moderate |
| Wind Resistance | High | Low |
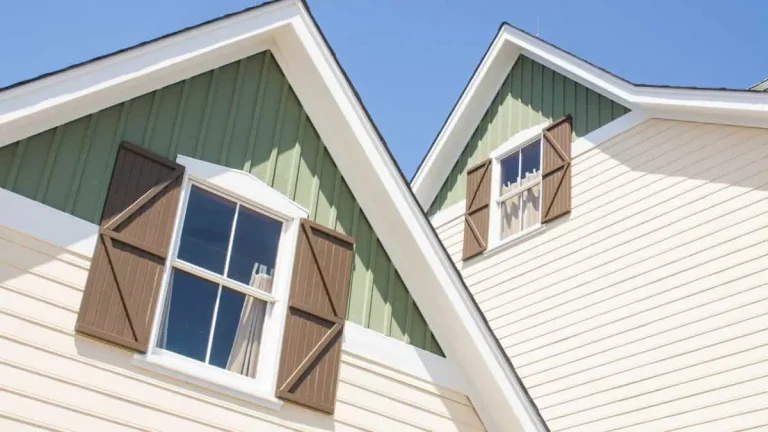
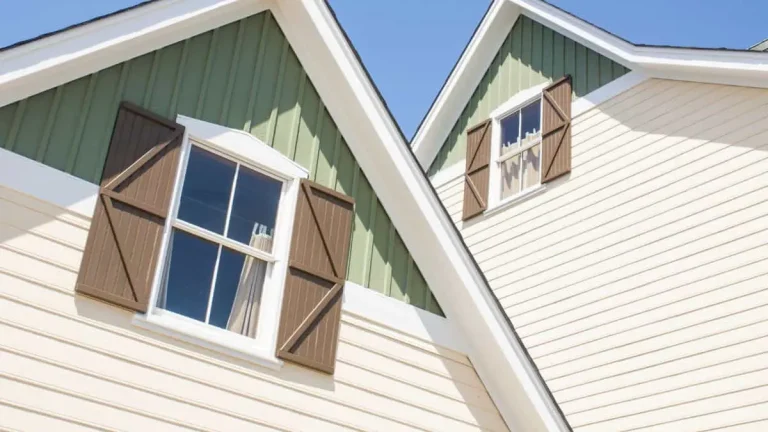
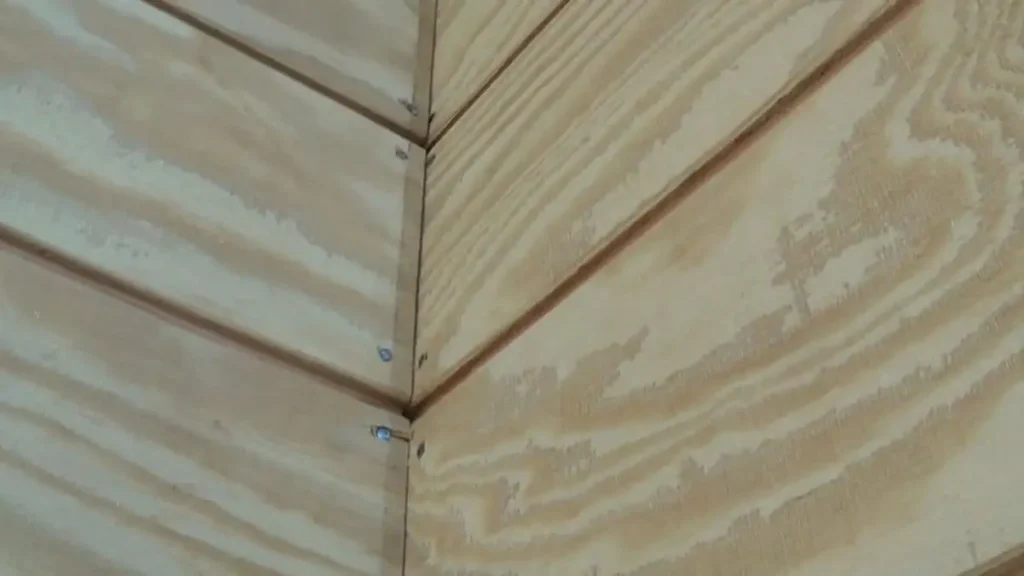
Aesthetic Appeal
Horizontal T1 11 Siding offers a unique aesthetic appeal that can transform the look of your home. Some benefits include:
- Modern Look: Horizontal lines provide a sleek, contemporary appearance that many homeowners love.
- Visual Width: This installation method can make your home appear wider, which is beneficial for narrow structures.
- Consistent Pattern: Horizontal siding creates a uniform look, enhancing the overall visual harmony of your exterior.
Here are some popular finishes and their aesthetic benefits:
| Finish | Benefit |
| Natural Wood | Offers a rustic and warm look. |
| Painted | Provides a clean, polished appearance. |
| Stained | Highlights the natural grain of the wood. |
Ease Of Installation
Horizontal installation of T1 11 Siding is also easier compared to vertical methods. Here are some reasons why:
- Simple Alignment: Aligning boards horizontally is straightforward and less time-consuming.
- Fewer Cuts: Horizontal installation generally requires fewer cuts, reducing waste and labor time.
- Accessibility: Working horizontally is easier and safer for installers, especially on taller structures.
Consider these steps for a straightforward installation process:
- Measure and cut the siding boards to fit horizontally.
- Align the first board at the bottom of the wall.
- Secure the board with nails or screws.
- Continue upward, overlapping each board slightly.
Cost-effective
Installing T1 11 Siding horizontally can be more cost-effective compared to other methods. Here’s why:
- Reduced Labor Costs: Easier installation translates to lower labor expenses.
- Less Material Waste: Fewer cuts mean less wasted material, saving you money.
- Long-Term Savings: Increased durability means fewer repairs and replacements over time.
Here’s a comparison of costs between horizontal and vertical installations:
| Cost Factor | Horizontal Installation | Vertical Installation |
| Labor | $500 | $700 |
| Material Waste | Low | High |
| Maintenance | Low | Moderate |
Tools And Materials You Will Need
To achieve a flawless installation, you must gather the right tools and materials. Here, we outline the essential items you’ll need to get started.
Tools You Will Need
- Measuring Tape: Accurate measurements are crucial for a perfect fit.
- Level: Ensures that your siding is installed evenly.
- Hammer or Nail Gun: Necessary for securing the siding panels.
- Circular Saw: For cutting the siding to the right size.
- Utility Knife: Handy for trimming and small adjustments.
- Chalk Line: Helps mark straight lines for cutting and alignment.
- Safety Gear: Gloves, goggles, and ear protection for safety.
Materials You Will Need
- T1 11 Siding Panels: The main material for your project.
- Galvanized Nails or Screws: To secure the panels in place.
- Flashing Tape: For sealing gaps and preventing water intrusion.
- Caulk: Seals edges and joints for a weatherproof finish.
- Wood Sealant or Paint: Protects the siding from the elements.
- Furring Strips: Provide a base for attaching the siding.
Preparation Items
- Work Gloves: Protect your hands during installation.
- Drop Cloths: Keep your work area clean and organized.
- Ladder: Required for reaching higher areas safely.
Having these tools and materials on hand will make the process of installing T1 11 siding horizontally much easier and more efficient. Ensure you prepare adequately before starting your project.
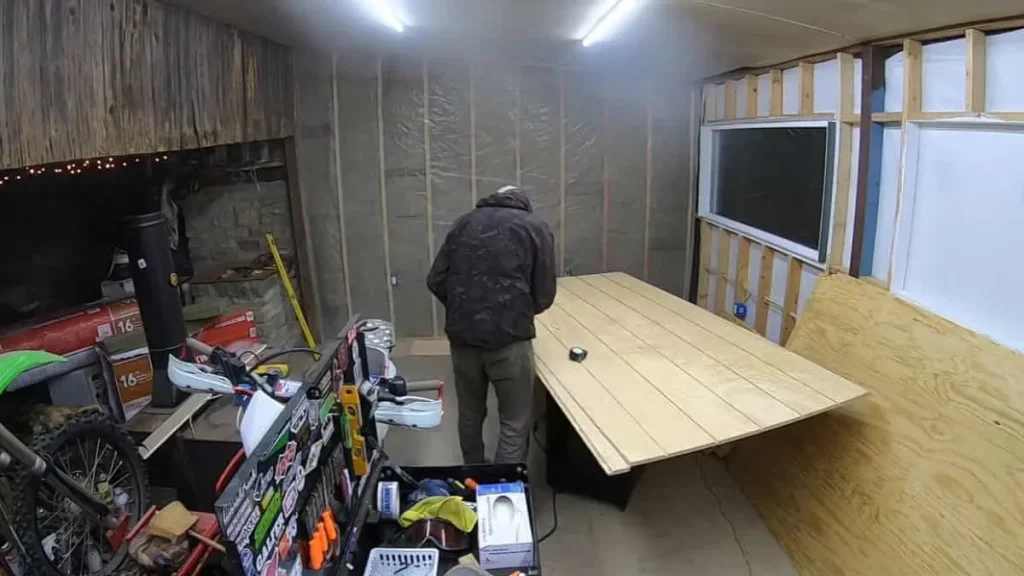
Step-by-step Guide To Installing T1 11 Siding Horizontally
T1 11 siding installed horizontally can give your home a unique and attractive look. This type of siding is durable, versatile, and relatively easy to install. Follow this step-by-step guide to install T1 11 siding horizontally and enhance your home’s exterior.
Preparation
Preparation is crucial for a successful T1 11 siding installation. Start by gathering all the necessary materials and tools:
- T1 11 siding panels
- Measuring tape
- Level
- Chalk line
- Hammer or nail gun
- Galvanized nails
- Caulk and caulking gun
- Paint or stain
Inspect the wall surface to ensure it’s clean and dry. Any dirt or moisture can affect the adhesion and longevity of the siding. Next, measure the wall dimensions to determine the number of T1 11 panels needed. Use a chalk line to mark a level line around the base of the wall where the first row of siding will be installed.
Set up a work area with a stable surface for cutting and fitting the panels. Ensure you have adequate lighting and ventilation. Wear safety gear, including gloves and goggles, to protect yourself during the installation process. A well-prepared workspace ensures a smoother and safer installation.
Installation
Begin the installation by placing the first panel at the base of the wall. Align the bottom edge with the chalk line and use a level to ensure it’s straight. Secure the panel with galvanized nails, spacing them about 8 inches apart around the edges and 12 inches apart in the center.
Continue installing the panels horizontally, making sure to stagger the seams for better stability and appearance. Leave a small gap (about 1/8 inch) between the panels to allow for expansion and contraction. Use caulk to seal the gaps and prevent moisture infiltration.
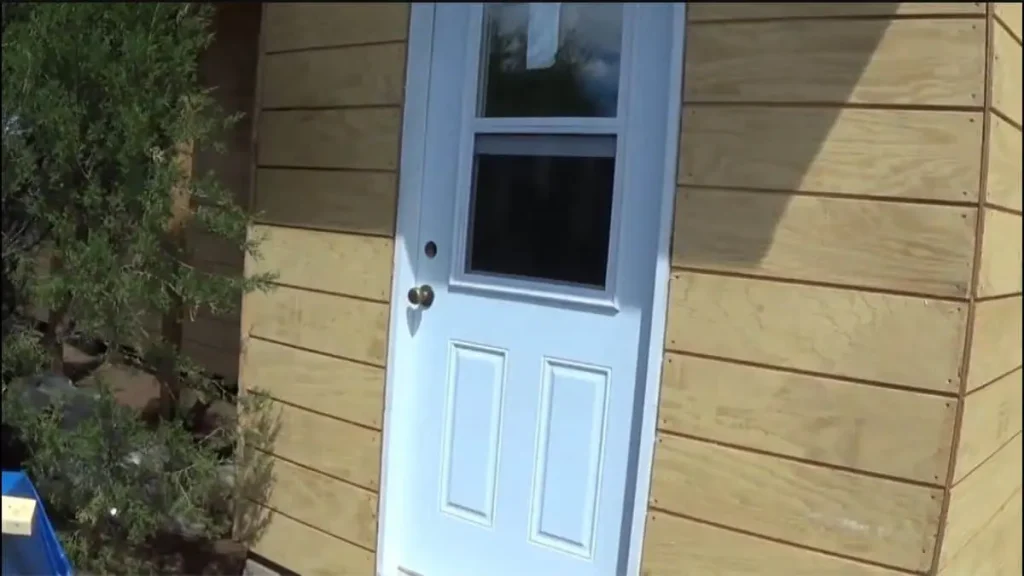
If you encounter any obstacles like windows or doors, measure and cut the panels to fit around them. Use a jigsaw or circular saw for precise cuts. Take your time to ensure a snug fit and proper alignment.
Recommended: How to Update Vinyl Siding
Cutting And Fitting
Cutting and fitting the T1 11 siding panels accurately is essential for a professional finish. Measure the space where each panel will go, and mark the measurements on the panel. Use a circular saw or table saw to make straight cuts.
If you need to cut around windows, doors, or other obstacles, use a jigsaw for more intricate cuts. Make sure to double-check your measurements before cutting to avoid mistakes. Sand any rough edges to ensure a smooth fit and reduce the risk of splinters.
Dry-fit the panels before nailing them in place to make sure they align correctly. Adjust the cuts as needed to ensure a perfect fit. This step helps prevent gaps and misalignments that can affect the overall appearance and performance of the siding.
Finishing
Finishing the installation involves sealing and painting or staining the T1 11 siding to protect it from the elements. Start by applying caulk to all the seams, gaps, and nail heads. This prevents moisture from penetrating the siding and causing damage.
Once the caulk is dry, apply a primer to the siding to prepare it for paint or stain. Choose a high-quality exterior paint or stain that is suitable for wood siding. Apply at least two coats for optimal protection and durability.
Use a paintbrush, roller, or sprayer to apply the paint or stain evenly. Follow the manufacturer’s instructions for drying times and recoat intervals. Proper finishing not only enhances the appearance of your T1 11 siding but also extends its lifespan by protecting it from weathering and UV damage.
Maintenance Tips For T1 11 Siding
To keep it in top shape, regular maintenance is crucial. Here are some essential maintenance tips for T1 11 siding to ensure it lasts longer and looks great.
Regular Cleaning
Keeping your T1 11 siding clean is vital for its longevity. Dirt, mold, and mildew can accumulate on the surface, leading to damage over time. Here are some steps to follow for regular cleaning:
- Use a soft brush or sponge to scrub the surface gently.
- Mix a solution of water and mild detergent.
- Rinse thoroughly with a garden hose.
- For stubborn stains, use a pressure washer on a low setting.
Cleaning your siding at least twice a year can help prevent mold and mildew growth. Avoid harsh chemicals that can damage the wood. Regular cleaning will keep your T1 11 siding looking fresh and new.
Read Also: Siding Replacement Tips
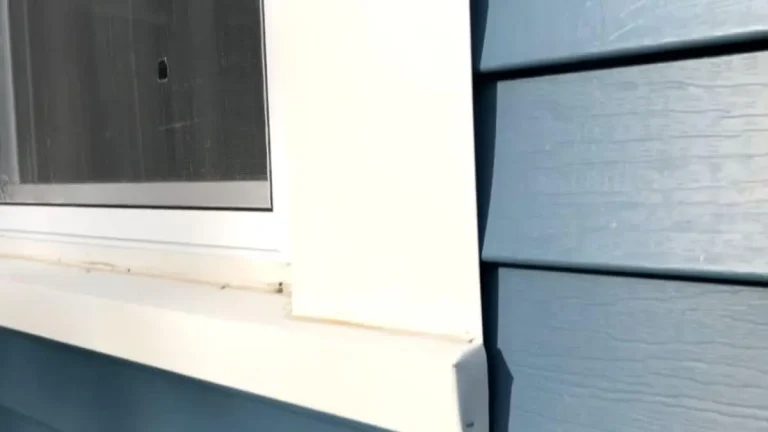
Repairs And Replacement
Timely repairs can prevent minor issues from becoming major problems. Here are some tips for handling repairs and replacements:
- Inspect the siding for cracks, holes, and warping.
- Fill small cracks and holes with wood filler.
- Sand the repaired area smoothly.
- If a panel is severely damaged, replace it entirely.
| Issue | Solution |
| Small cracks | Use wood filler |
| Warping | Replace affected panels |
| Holes | Fill with wood filler |
Regular inspections can help you catch and fix issues before they worsen. This ensures your T1 11 siding stays in excellent condition.
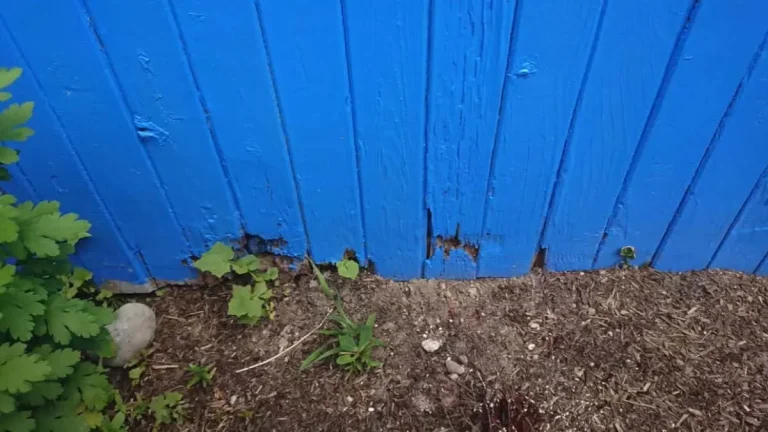
Protection Against Pests And Rot
Pests and rot can cause significant damage to T1 11 siding. Here are some tips to protect your siding:
- Apply a sealant to prevent moisture penetration.
- Keep gutters clean to avoid water overflow.
- Trim vegetation away from the siding.
- Inspect for signs of termites or other pests.
Sealants and paints act as a barrier against moisture and pests. Ensure your siding is painted or sealed every few years. This can significantly reduce the risk of rot and pest infestation.
Keeping the area around your home clean and dry can also help. Regularly check for signs of pests and address them immediately. Preventive measures can save you time and money in the long run.
Conclusion
Installing T1-11 siding horizontally is an excellent way to boost your home’s curb appeal while benefiting from the material’s durability and cost-effectiveness. With proper installation and maintenance, horizontal T1-11 siding can provide a unique and attractive exterior that stands the test of time.
Whether you’re aiming for a modern, rustic, or coastal look, this versatile siding option can help you achieve the style you desire.
So, why not consider horizontal T1-11 siding for your next home improvement project? It could be the perfect way to transform your home’s exterior and make a lasting impression.