The kitchen exhaust fan is a vital component of any kitchen, helping to remove smoke, odors, and excess moisture from the air while you cook.
However, over time, these fans can become worn out, noisy, or simply inefficient. If you find yourself in this situation, it might be time to replace your old kitchen exhaust fan.
But fear not! In this comprehensive guide, we’ll walk you through everything you need to know to successfully replace your old kitchen exhaust fan with a new one.
Signs Indicating the Need for Replacement
Now, let’s talk about when it’s time to say goodbye to your old kitchen exhaust fan. It’s not always as clear as a burnt-out light bulb, so here are some telltale signs to watch out for. These are like the little hints your fan gives you, saying, “Hey, I might need a bit of a refresh!”
1. Decreased Efficiency: First up, if your kitchen seems smokier or more humid than usual, it’s a big hint. Your fan should be able to handle the aftermath of your searing steak or boiling pasta. If not, it’s like having a raincoat that doesn’t keep you dry – not very useful, right?
2. Unusual Noises: Remember how your fan used to be a quiet background hum? If it now sounds like a grumpy old car struggling to start, that’s a red flag. These noises can range from rattling to loud buzzing, indicating wear and tear of internal components.
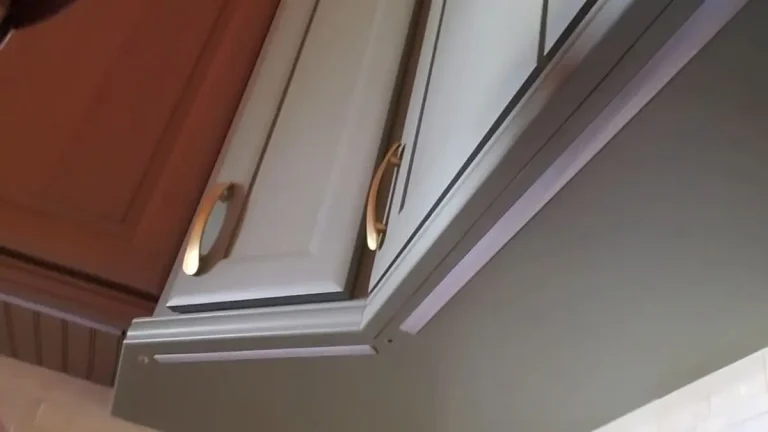
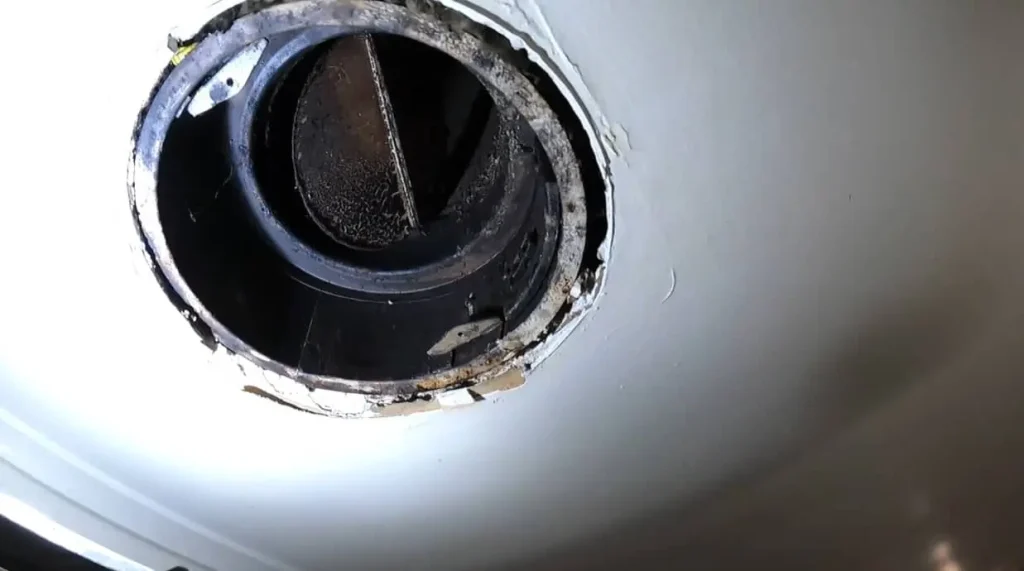
3. Visible Wear and Tear: Take a look at your fan. Does it look like it’s seen better days? Signs of rust, motor damage, or loose parts are clear indicators that your fan is due for retirement.
4. Changes in Kitchen Air Quality: This one’s a bit more subtle but equally important. If you start noticing lingering cooking odors or your kitchen curtains seem to attract more grease than usual, it’s a sign your fan isn’t doing its job effectively.
Preparing for Replacement
Alright, you’ve identified the signs, and it’s clear: your old kitchen exhaust fan needs replacing. But before we jump into the exciting world of new fan shopping, let’s get our ducks in a row for a smooth replacement process. Think of this as the ‘mise en place’ of DIY home remodeling!
Tools and Safety Gear
First things first, safety. You wouldn’t go into a kitchen to fry chicken without an apron, right? Similarly, when dealing with electrical appliances, safety gear is a must. Grab a pair of gloves, safety goggles, and make sure you have a sturdy ladder. As for tools, you’ll need a screwdriver, pliers, a drill, and maybe a few other items depending on your specific fan model.
Assessing Your Current Exhaust Fan Setup
Now, let’s take a closer look at your current setup. Is your fan vented to the outside, or does it recirculate air back into the kitchen? This will determine the type of replacement fan you need. Also, measure the existing fan’s dimensions – you’ll want your new fan to fit like a glove in the same spot.
Choosing a New Exhaust Fan: Factors to Consider
Time to pick a new fan! When shopping for an old kitchen exhaust fan replacement, keep these factors in mind:
- Size and Fit: It’s like buying a new pair of shoes; size matters. Ensure the new fan matches the dimensions of your old one.
- Type: Vented or non-vented, each has its pros and cons. Think about what worked (or didn’t work) with your old fan.
- Features: Do you want something basic, or are you looking for features like variable speeds or built-in lights?
- Energy Efficiency: Consider an energy-efficient model. It’s like opting for a car with better gas mileage – good for the environment and your bills.
- Noise Level: Unless you want a jet engine in your kitchen, check the fan’s noise rating.
Keep these tips in your toolbelt, and you’re well on your way to making an informed decision. It’s not just about filling a gap in your kitchen wall; it’s about upgrading your kitchen’s functionality and safety.
Recommended Post: Save Money On Kitchen Remodel: Budget-Friendly Tips
Tools and Materials Needed
So, you’ve decided to replace your old kitchen exhaust fan – great decision! Just like you wouldn’t bake a cake without flour and eggs, you can’t start this project without the right tools and materials. Here’s your shopping list to ensure you’re all set for a successful DIY adventure.
List of Tools
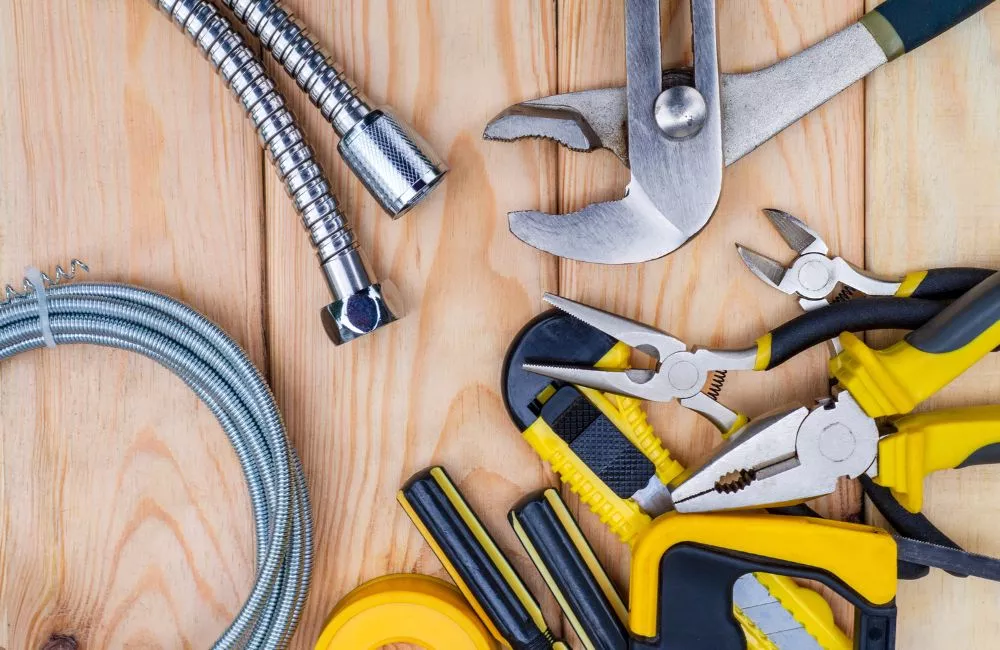
Think of these tools as your trusty sidekicks, each playing a crucial role in your mission:
- Screwdrivers: A variety of sizes, both flathead and Phillips, because you never know what screws you’ll encounter.
- Adjustable Wrench: For those tight nuts and bolts.
- Wire Stripper/Cutter: This will come in handy when dealing with electrical connections.
- Drill: If you need to make new holes or expand existing ones for fitting.
- Voltage Tester: Safety first! This tool is crucial to ensure no live wires are lurking around.
- Pliers: Sometimes you need a little extra grip.
- Tape Measure: Precision is key – measure twice, cut (or drill) once!
- Level: To ensure your new fan isn’t installed wonky.
List of Materials
Now for the materials – these are the ‘ingredients’ for your project:
- Your New Kitchen Exhaust Fan: The star of the show, chosen based on your specific needs and kitchen setup.
- Wire Nuts: For safely connecting electrical wires.
- Duct Tape or Foil Tape: Essential for securing ductwork, especially if you have a vented fan.
- Mounting Hardware: Usually comes with your new fan, but it’s good to check.
- Caulking: To seal everything up neatly and prevent air leaks.
- Safety Gear: Gloves and goggles, because protecting yourself is paramount.
Tips for Selecting Quality Materials and Tools
Remember, good quality doesn’t always mean the most expensive. Look for tools and materials that offer the best balance between cost and durability. Read reviews, ask for recommendations at your local hardware store, or consult online forums. The right tools and materials will not only make the job easier but also ensure a safe and long-lasting installation of your new kitchen exhaust fan.
Step-by-Step Guide: Removing the Old Fan
Roll up your sleeves because it’s time to get down to business! Removing your old kitchen exhaust fan might seem daunting, but with these step-by-step instructions, you’ll be a DIY champ in no time.
Safety Precautions
First and foremost, let’s talk safety. Before you touch anything:
- Turn Off the Power: Head to your circuit breaker and switch off the power to your kitchen. This is non-negotiable!
- Test the Wires: Use your voltage tester to ensure there’s no current running through the fan’s wires.
Disconnecting Power
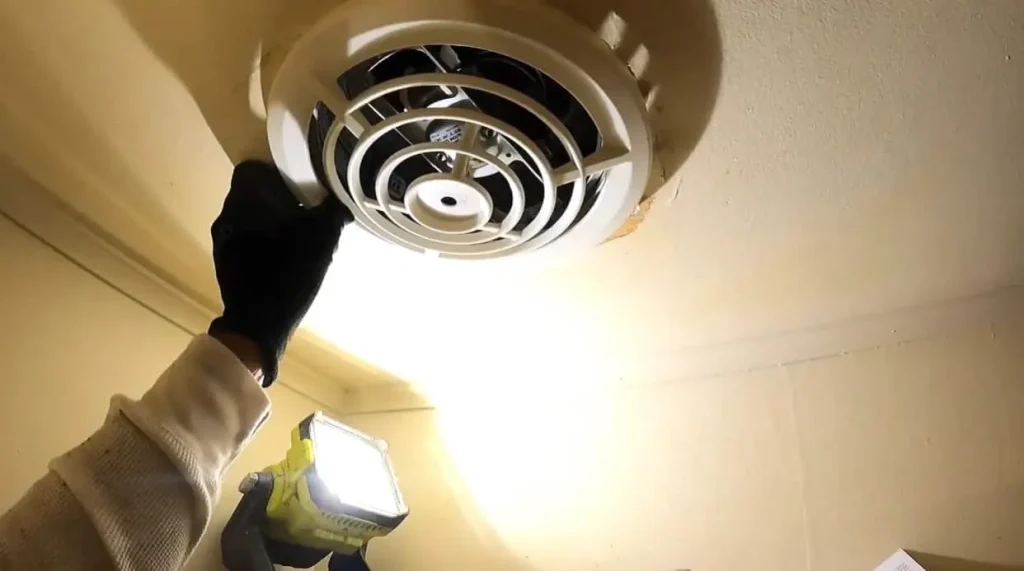
- Remove the Fan Cover: This usually involves unscrewing or gently prying it off.
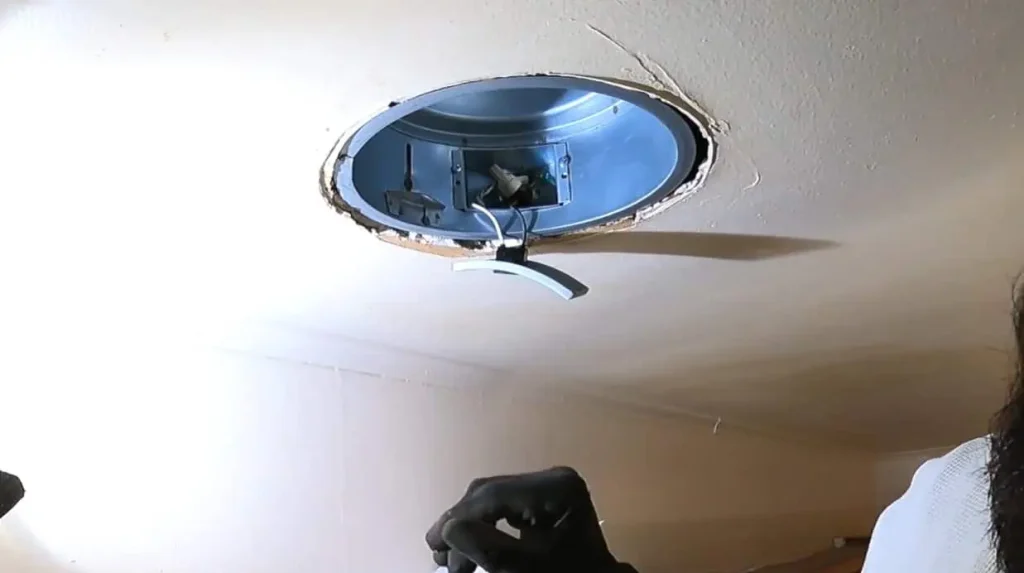
- Disconnect the Wires: After confirming the power is off, disconnect the wires connecting the fan to your home’s electrical system. Remember, safety first!
Removing the Old Fan
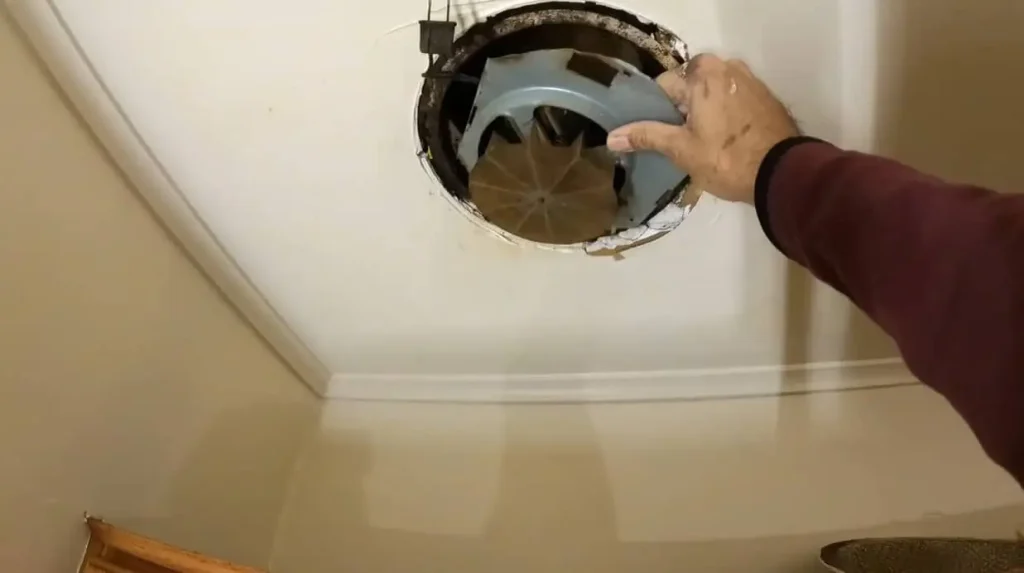
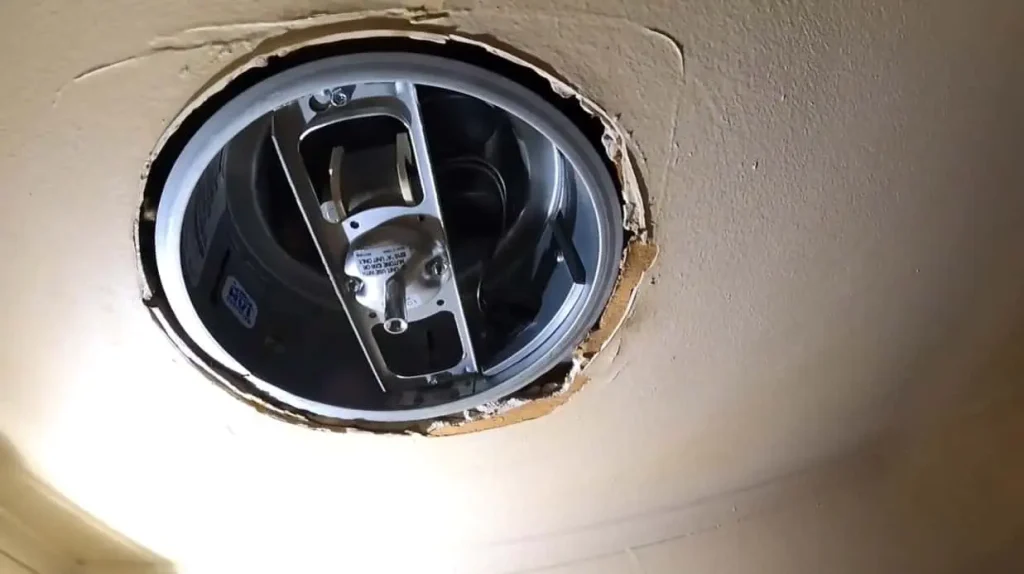
- Unscrew the Fan: There will be screws or bolts holding the fan in place. Carefully unscrew these, keeping a firm hold on the fan so it doesn’t fall.
- Detach the Fan: Once unscrewed, gently pull the fan away from its position. If it’s a vented model, you’ll also need to disconnect it from the ductwork.
Cleaning and Preparing the Area for the New Fan
With the old fan out, you’ve got a prime opportunity to clean up:
- Wipe Down the Area: Remove dust, grease, and grime from the space where your fan was. A clean area ensures a better installation for your new fan.
- Inspect and Prepare: Check the area for any damage that needs repairing. If you’re upgrading to a larger fan, you might need to enlarge the opening.
Step-by-Step Guide: Installing the New Fan
Now, let’s move on to the exciting part – installing your brand-new fan. This process is like planting a new flower in your garden; it requires care, attention, and the right steps to ensure it blooms beautifully. Here we go!
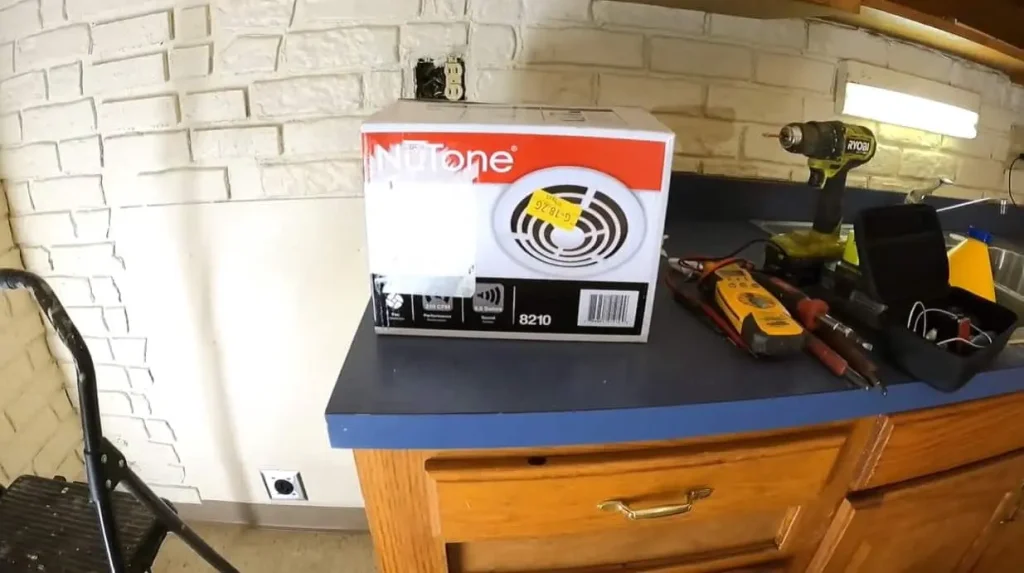
Preparing the New Fan
- Unbox with Care: Gently unbox your new fan. It’s always a good idea to double-check that all parts are included and undamaged.
- Review the Instructions: Every fan model is a bit different, so take a moment to review the manufacturer’s instructions. It’s like reading the recipe before you start cooking.
Installation Process
- Position the Fan: Carefully lift your new fan into the designated spot. If it’s a vented model, make sure the ductwork aligns correctly.
- Secure the Fan: Once in place, use the screws or mounting hardware provided to secure the fan. This step is crucial for safety and performance, so ensure it’s fitted snugly.
Securing the Fan and Final Checks
- Connect the Wires: Safely connect the electrical wires, following the instructions provided. This might involve color-matching wires and using wire nuts to secure connections.
- Test the Connections: Before sealing everything up, a quick test is wise. Turn the power back on and switch on the fan to ensure it operates correctly. Remember, it’s better to catch any issues now rather than later.
Restoring Power and Initial Testing
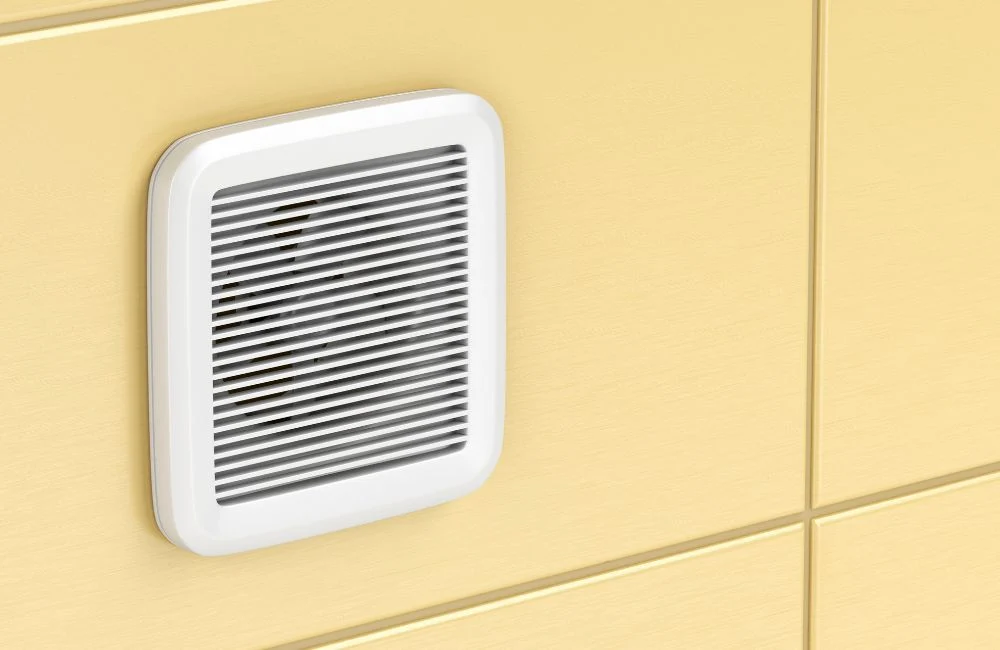
- Reattach the Cover: Once you’re sure everything is working fine, reattach the fan cover.
- Clean Up: Tidy up your workspace and admire your handiwork.
Safety Tips Throughout the Process
When it comes to replacing your old kitchen exhaust fan, safety isn’t just a footnote – it’s the main script. Let’s face it, DIY projects can be as tricky as trying to flip a pancake without a spatula if you’re not careful. So, here are some essential safety tips to ensure your old kitchen exhaust fan replacement goes as smoothly as a well-oiled door hinge.
Electrical Safety
First up, electricity. It’s a powerful tool but can be a formidable foe if not handled with respect. Always turn off the power at the circuit breaker before starting any work. Use a voltage tester to double-check that the wires you’re working with are not live. It’s like checking if the stove is hot – better safe than sorry.
Handling Tools and Equipment
Tools are there to make your job easier, not harder. Use them wisely and with caution. Read the manuals for any power tools, wear gloves to protect your hands, and goggles to shield your eyes from debris. Always keep your tools organized and within easy reach – a cluttered workspace is a hazard waiting to happen.
Avoiding Common Mistakes
Now, let’s talk about those pesky little errors that can turn a simple project into a headache:
- Don’t Rush: This isn’t a race. Take your time to read instructions, measure twice, and cut (or drill) once.
- Check and Recheck: Ensure everything is aligned correctly, the fan is securely mounted, and the electrical connections are tight and correct.
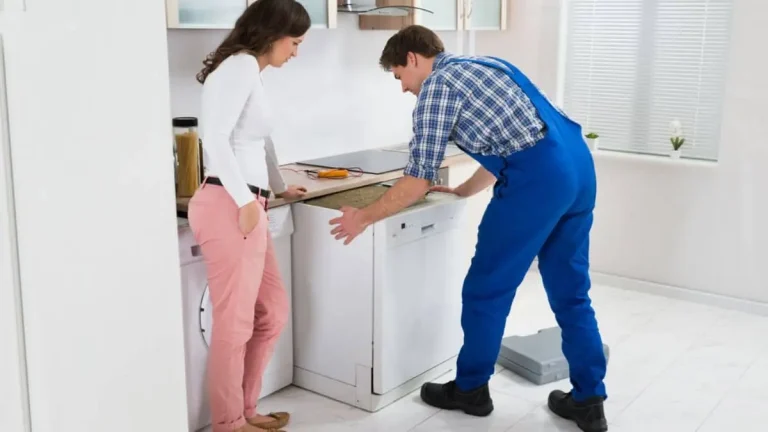
- Seek Help if Needed: There’s no shame in asking for help or advice, especially if you’re stuck. Sometimes a second pair of hands or eyes can make all the difference.
Maintenance Advice for the New Exhaust Fan
Regular maintenance is key to ensuring your fan doesn’t just look shiny and new but also performs at its best. Let’s dive into some simple yet effective maintenance tips to help your fan live a long and efficient life.
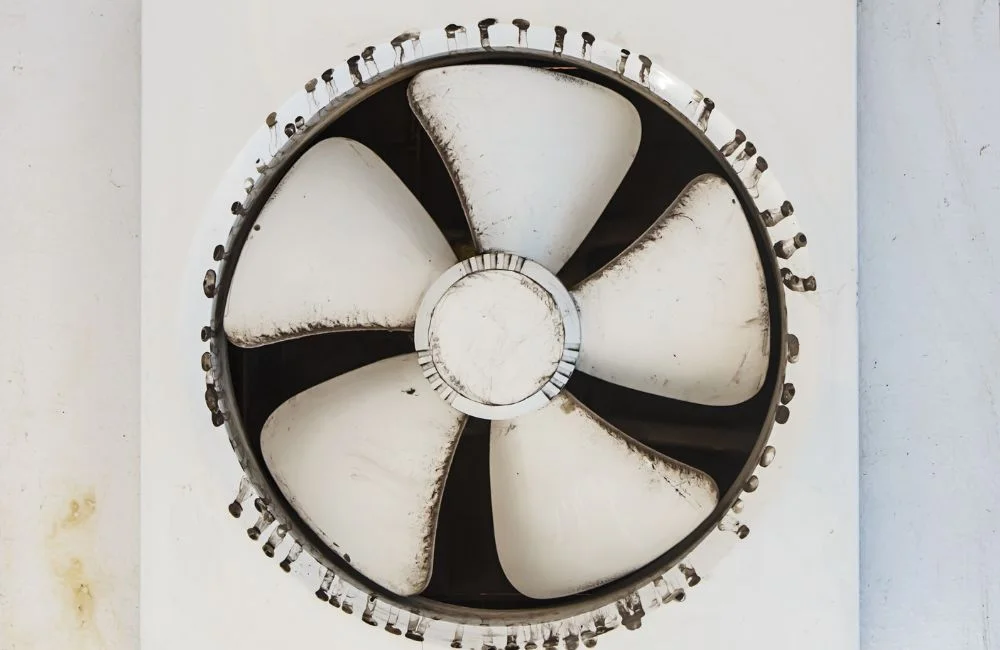
Regular Cleaning and Care
Your kitchen exhaust fan works hard to keep your air clean, so let’s return the favor. Regular cleaning is crucial. Every few months, take down the cover and gently clean the fan blades and housing. A mild detergent should do the trick. It’s like brushing your teeth – a little routine care goes a long way in preventing bigger issues.
When to Seek Professional Help
Even the best of us need a little help sometimes, and your exhaust fan is no exception. If you notice any unusual noises, vibrations, or a decrease in efficiency, it might be time to call in a professional. It’s like taking your car to a mechanic when you hear a strange noise; sometimes, expert eyes and hands are needed.
Longevity Tips for the Exhaust Fan
To ensure your fan has a long and healthy life, here are a few extra tips:
- Avoid Overloading: Don’t run the fan for excessively long periods; it’s not designed to be on 24/7.
- Check for Obstructions: Occasionally, make sure the external vent is free of debris or blockages.
- Mind the Motor: If your fan has a lubrication port, a little oil can help keep the motor running smoothly.
In a nutshell, treat your new kitchen exhaust fan with a bit of TLC, and it will reward you by keeping your kitchen air fresh and clear for years to come.
Conclusion
Replacing your old kitchen exhaust fan may seem like a daunting task, but with the right tools, knowledge, and preparation, it can be a relatively straightforward DIY project.
By following the steps outlined in this guide, you can successfully replace your old exhaust fan and enjoy improved ventilation in your kitchen. So don’t wait any longer – say goodbye to that old, noisy fan and hello to a cleaner, more comfortable cooking space!