When installing vinyl siding on uneven walls, it is crucial to first address the underlying issues. Properly prepare the walls by adding a leveling compound or furring strips to create a smooth surface for the siding to adhere to.
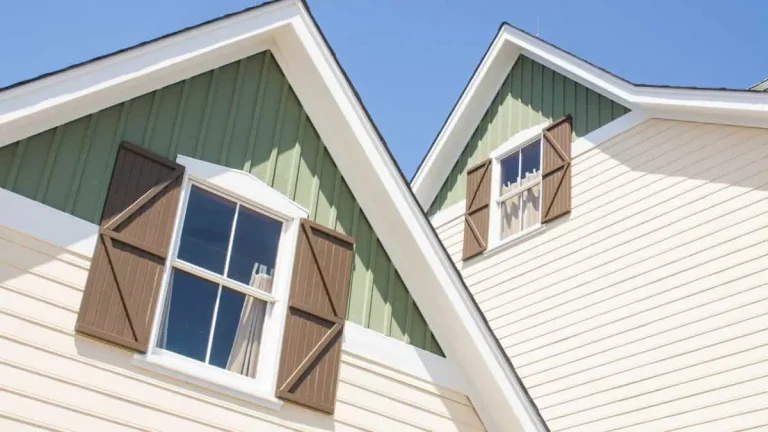
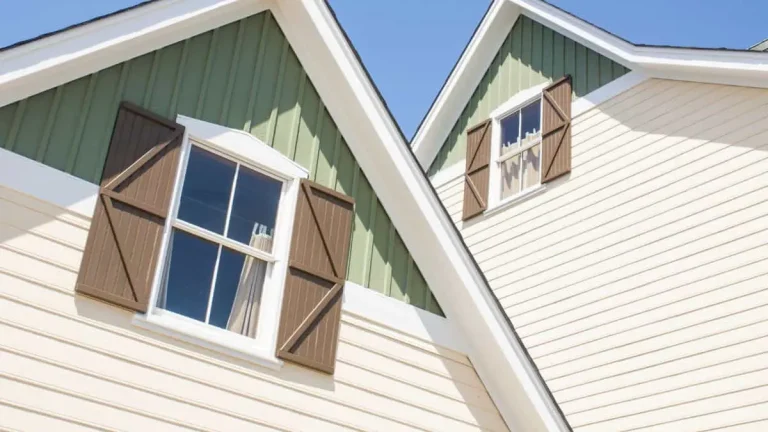
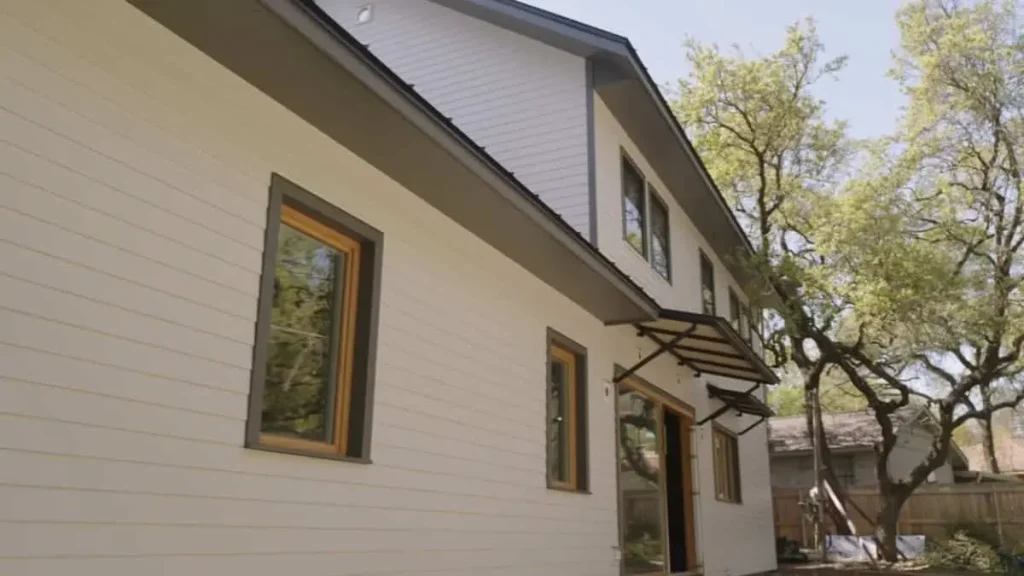
Vinyl siding is a popular choice for exterior cladding due to its durability, low maintenance, and aesthetic appeal. However, installing vinyl siding on uneven walls can present unique challenges.
This guide will walk you through the process, providing detailed instructions, tips, and considerations to ensure a professional-looking finish even on the most irregular surfaces.
Why Vinyl Siding?
Before diving into the installation process, it’s essential to understand why vinyl siding is a great option:
- Durability: Vinyl siding is resistant to weather, insects, and rot.
- Low Maintenance: It requires minimal upkeep compared to wood or metal siding.
- Cost-Effective: Vinyl siding is affordable and has a long lifespan.
- Versatility: Available in various colors and styles, vinyl siding can suit any architectural style.
The Process of Installing Vinyl Siding on Uneven Walls
Assessing The Walls
When installing vinyl siding on uneven walls, the first step is assessing the walls to ensure a smooth installation process.
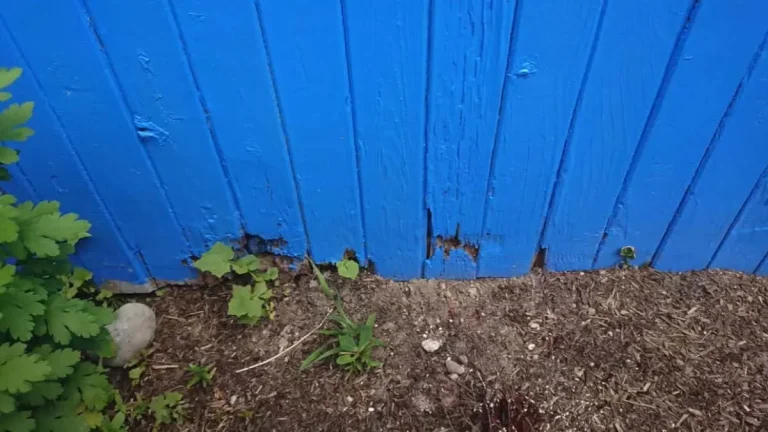
Inspect the Walls: Before starting, inspect the walls for any damage, rot, or mold. Repair any issues to ensure a solid base for the siding.
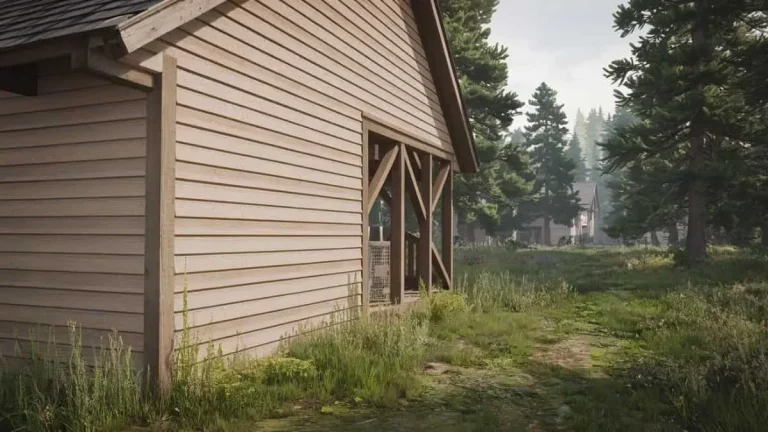
Remove Existing Siding: If there is old siding, remove it completely. Clean the surface to remove any debris or old nails.
Check for Evenness: Use a level and measuring tape to check the evenness of the walls. Identify areas that are significantly uneven.
Preparing Uneven Walls

To install vinyl siding on uneven walls, the surface must be properly prepared. Begin by removing any existing siding and repairing any damaged areas. Next, install furring strips to create a level surface for the siding to be installed. Finally, ensure the surface is clean and free from any debris before proceeding with the vinyl siding installation.
Repairing Damaged Areas
One of the first steps in preparing the surface for vinyl siding installation is to repair any damaged areas. This may include filling in cracks or holes in the wall, replacing damaged boards, or addressing any other issues that may be present. It is important to ensure that the surface is smooth and even before you begin installing the siding.
Install Furring Strips
For severely uneven walls, consider installing furring strips. These thin strips of wood or metal create a flat surface for attaching the siding. Attach the strips vertically, spaced 16 inches apart. Use a level to ensure they are straight.
Adding Insulation
Another important step in preparing the surface for vinyl siding installation is adding insulation. This is particularly important if you live in an area with extreme temperatures, as insulation can help regulate the temperature inside your home. It can also help reduce noise and improve energy efficiency.
House Wrap
Apply house wrap or building paper over the entire wall surface. This provides a moisture barrier and improves insulation. Ensure the wrap is smooth and free of wrinkles.
Choosing The Right Materials
When installing vinyl siding on uneven walls, choosing the right materials is crucial to achieving a professional and long-lasting finish. Selecting the correct siding, using shims and furring strips, and ensuring proper installation techniques are essential for a successful project.
Selecting Correct Siding
When dealing with uneven walls, it’s important to choose a vinyl siding product that can accommodate irregular surfaces. Look for siding panels designed to be flexible and forgiving, such as those with a double-hem design or extra flexibility. These features allow the siding to conform to the contours of uneven walls, minimizing gaps and ensuring a smooth appearance.
Using Shims And Furring Strips
Shims and furring strips are valuable tools for addressing uneven walls before installing vinyl siding. Shims can be used to fill in gaps and create a level surface for the siding, while furring strips provide a framework to which the siding can be securely attached. Using these materials can help create a more even and aesthetically pleasing result.
Installation Techniques
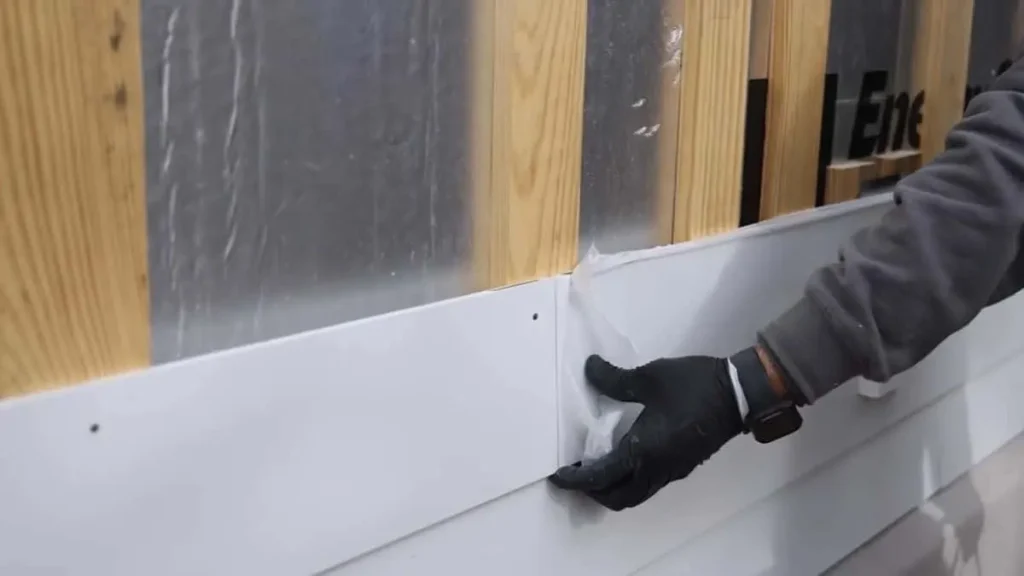
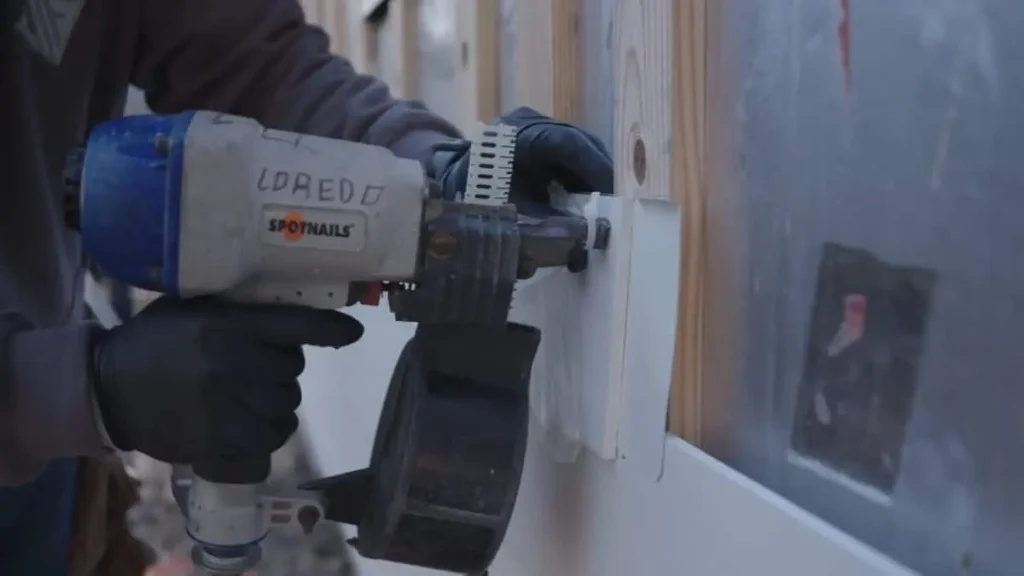
- Starter Strip: Begin by installing the starter strip at the base of the wall. Use a chalk line to ensure it is level. The strip should be nailed every 12 inches.
- Corner Posts: Install corner posts at each corner of the wall. Ensure they are plumb (vertically level). Nail them every 12 inches, starting from the top and working your way down.
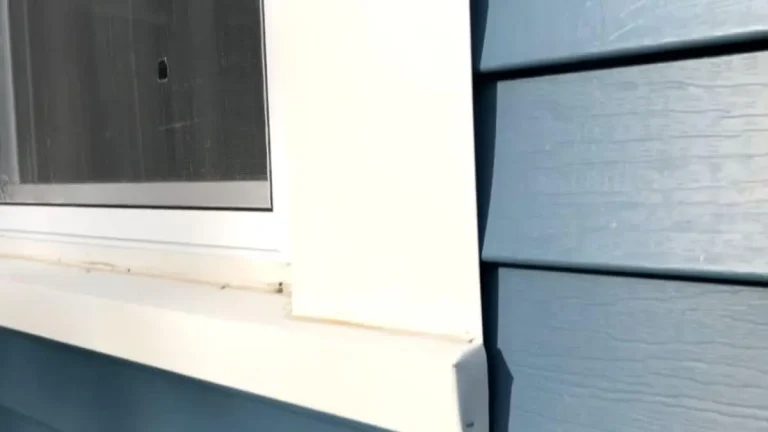
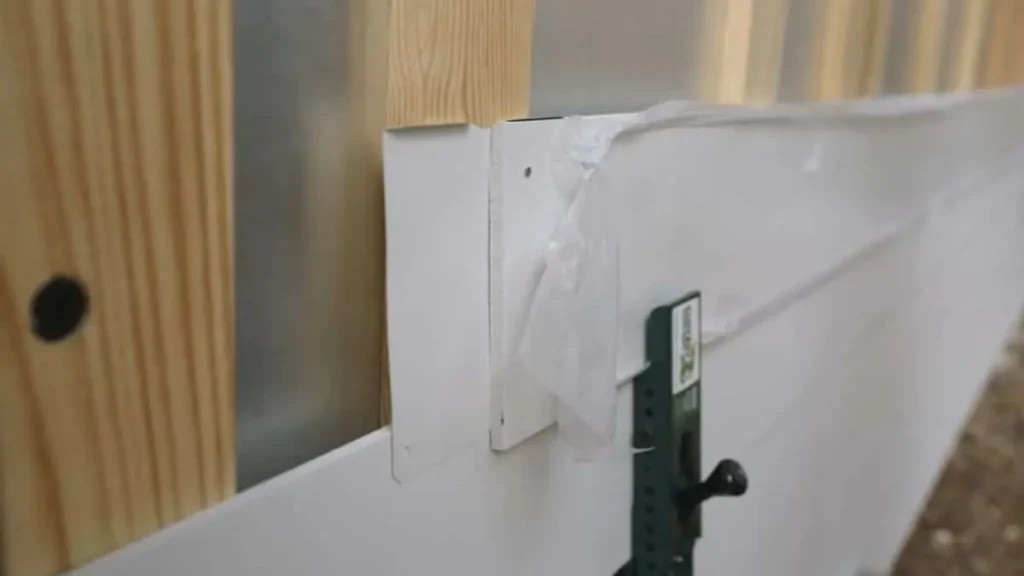
- J-Channel: Install J-channel around windows and doors to create a finished edge for the siding panels. Ensure the J-channel is level and securely nailed.
- First Row of Siding: Begin with the first row of vinyl siding. Hook the bottom edge into the starter strip and nail it at the top. Leave a gap of about 1/32 inch between the nail head and the siding to allow for expansion and contraction. Use a level to ensure the siding is straight.
- Subsequent Rows: Continue installing the siding panels, working your way up the wall. Overlap each row by 1 inch and ensure the panels are locked securely into place. Check periodically with a level to maintain straight lines.
- Around Windows and Doors: Cut siding panels to fit around windows and doors using a utility knife or circular saw. Insert the cut edges into the J-channel to create a clean finish.
Dealing With Corners And Edges
When installing vinyl siding on uneven walls, dealing with corners and edges is crucial to achieving a professional, polished look. Addressing these areas properly can ensure a clean finish and long-lasting durability for your siding. Below, we’ll discuss how to approach corners and edges, including installing J-channels and trimming for a clean finish.
Installing J-channels
One essential step in dealing with corners and edges when installing vinyl siding on uneven walls is the proper installation of J-channels. J-channels are used to receive and support the siding at corners, doors, windows, and other edges. To install J-channels:
- Measure and cut the J-channel to fit the length of the corner or edge.
- Secure the J-channel in place using galvanized nails or screws, ensuring it is level and straight.
- Overlap J-channels at corners and miter-cut them for a seamless appearance.
Recommended Post: Vinyl Siding around Windows With Built-in J-Channel
Trimming For A Clean Finish
Trimming the vinyl siding for a clean finish is essential for dealing with corners and edges on uneven walls. Proper trimming can ensure a seamless and professional look. Here’s how to trim vinyl siding for a clean finish:
- Measure and mark the siding to the required length using a square and pencil.
- Cut the siding using tin snips or a vinyl siding cutting tool, ensuring straight and clean edges.
- Fit the trimmed siding into the J-channels securely, ensuring a snug and precise fit.
Ensuring Proper Alignment
Proper alignment not only enhances the appearance of the siding but also ensures its durability and longevity.
Maintaining Consistent Overlap
One key aspect of ensuring proper alignment when installing vinyl siding on uneven walls is maintaining a consistent overlap. This involves ensuring that each panel of siding overlaps the adjacent panel uniformly, creating a seamless and visually appealing exterior. Properly aligning the overlap helps to prevent moisture infiltration and ensures the structural integrity of the siding.
Checking For Vertical Alignment
This involves meticulously verifying that each panel of siding is vertically aligned with the ones above and below it. This meticulous attention to detail helps to eliminate any unsightly gaps or irregularities, resulting in a smooth and uniform appearance.
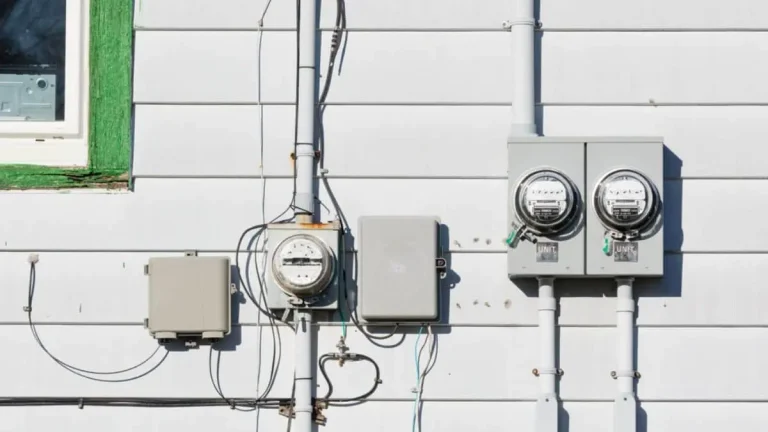
Read Also: Siding Around Electric Meter: Safe Installation Tips
Finishing Touches
After installing vinyl siding on uneven walls, the finishing touches are crucial to achieve a polished look.
Caulking Seams
- Fill gaps between siding panels with high-quality exterior caulk to prevent moisture infiltration.
- Apply caulk along the seams where two pieces of siding meet for a seamless appearance.
Painting Or Sealing Siding
- Consider painting vinyl siding to match your home’s exterior or sealing it for added protection.
- Choose a paint specifically formulated for vinyl surfaces to ensure durability and adhesion.
Tips for a Successful Installation
- Allow for Expansion: Vinyl siding expands and contracts with temperature changes. Leave slight gaps between panels and trim pieces to accommodate this movement.
- Use Proper Nails: Use galvanized or stainless steel nails to prevent rust. Ensure nails are driven straight and not over-tightened.
- Check Alignment Regularly: Use a level frequently to check that the siding is straight and even.
- Work in Moderate Weather: Avoid installing vinyl siding in extreme temperatures. Cold weather can make the panels brittle, while hot weather can cause excessive expansion.
Troubleshooting Common Issues
- Buckling and Warping: Ensure you leave enough space for expansion and avoid over-nailing.
- Loose Panels: Double-check that each panel is locked into place properly.
- Water Infiltration: Ensure all seams are properly overlapped and sealed, especially around windows and doors.
Conclusion
Installing vinyl siding on uneven walls may seem daunting, but with careful preparation and attention to detail, it can be done successfully. By following this guide, you can achieve a professional-looking installation that enhances the appearance and value of your home.
Remember, the key to a successful project is in the preparation, so take the time to properly assess and prepare your walls before beginning the installation. Happy siding!