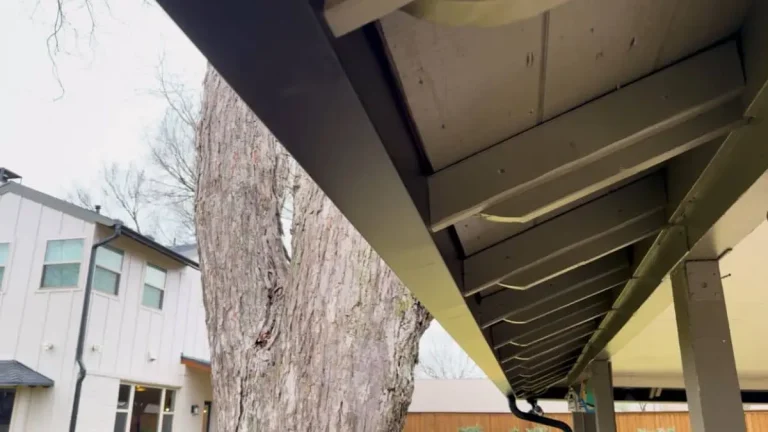
To fix a roof with no overhang, install a drip edge and flashing to prevent water damage. Consider adding gutters and downspouts for proper drainage.
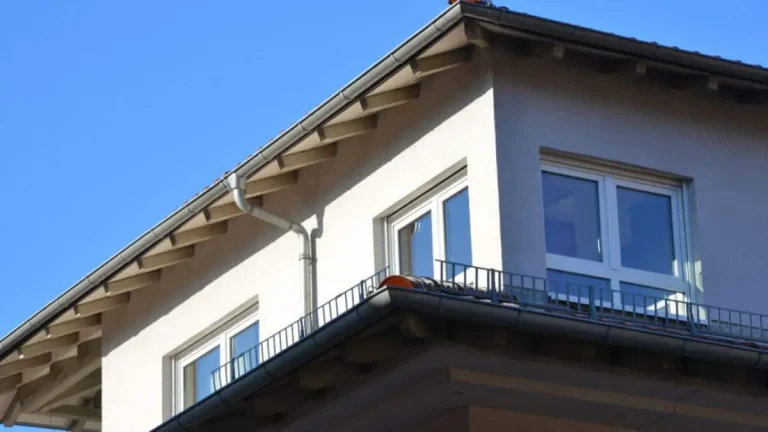
A roof with no overhang can pose unique challenges when it comes to maintenance and repairs. Overhangs typically provide protection to the walls of a building from rain and snow, reduce the impact of the elements on windows and doors, and improve overall insulation. When a roof lacks this feature, water and debris can more easily damage the structure.
However, with the right approach and tools, you can effectively repair and maintain a roof without overhangs. This guide will walk you through the steps to fix common issues associated with such roofs.
Challenges Of Roofing With No Overhang
Roofs with no overhangs often face the following problems:
- Increased Water Damage: Without an overhang, rainwater can flow directly down the walls, potentially causing leaks and structural damage.
- Poor Insulation: The absence of an overhang can lead to higher energy costs as it may not protect the walls from direct sunlight.
- Increased Wear and Tear: Direct exposure to the elements can accelerate the aging of roofing materials.
Can You Add An Overhang To An Existing Roof?
Yes, you can add an overhang to an existing roof, although it involves significant work and careful planning. Adding an overhang can provide numerous benefits, including better protection for your walls from the elements, improved insulation, and enhanced aesthetics.
Step-by-Step Guide to Fixing a Roof with No Overhang
Here’s a detailed guide on how to add an overhang to an existing roof:
1. Assessment And Planning
Assessment and planning are crucial steps in fixing a roof with no overhang. Properly inspecting the roof, identifying problem areas, and determining the materials needed are essential for a successful repair.
Inspecting The Roof
Begin by thoroughly examining the roof to assess its current condition. Look for any signs of damage, such as missing or broken shingles, leaks, or water stains. Pay close attention to the edges of the roof where the overhang would typically be located, as these areas are most vulnerable to water infiltration. It’s important to carefully document any issues you observe to guide your repair process.
Identifying Problem Areas
After inspecting the roof, focus on identifying specific problem areas that require attention. This may include pinpointing areas where water is pooling, detecting points of entry for pests or debris, or noting any structural weaknesses.
Determining Materials Needed
Once problem areas have been identified, it’s essential to determine the materials needed for the repair. Consider the type and quantity of roofing materials required, as well as any additional tools or equipment necessary to complete the job. Creating a comprehensive list of materials will streamline the repair process and minimize the risk of interruptions due to missing items.
2. Preparing The Work Area
When it comes to fixing a roof with no overhang, the first step is to prepare the work area. This involves clearing debris and ensuring safety measures to create a safe and efficient environment for roof repair.
Clearing Debris
Before starting any roof repair work, it is crucial to clear the area of any debris. This includes removing leaves, branches, and any other loose materials that may pose a hazard during the repair process. Clearing the debris not only ensures a safer work environment but also allows for better access to the roof for the repair work.
Ensuring Safety Measures
Ensuring safety measures is paramount when working on a roof with no overhang. This involves using proper safety equipment such as harnesses, ladders, and fall protection gear. Additionally, it is essential to secure the work area to prevent any accidents or falls.
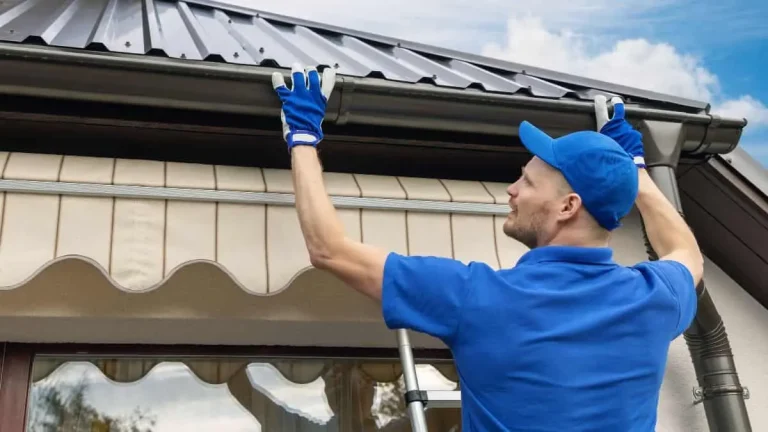
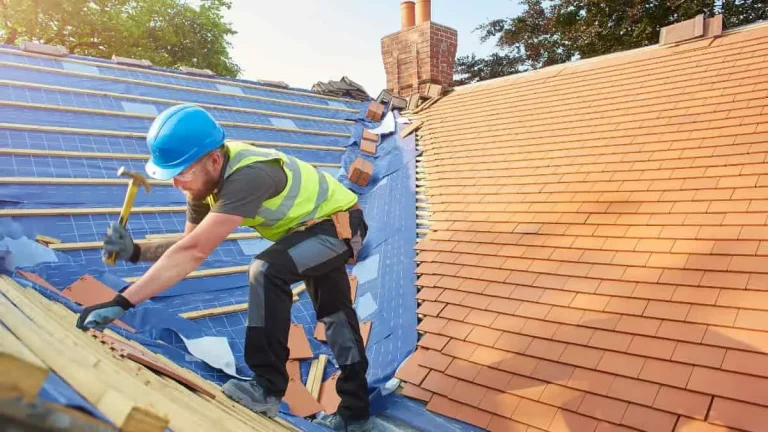
3. Repairing The Roof
To fix a roof with no overhang, start by inspecting the damaged area and removing any loose or damaged shingles. Next, apply roofing cement along the edges and secure a metal flashing to prevent water infiltration. Finally, install new shingles and seal the edges for a durable repair.
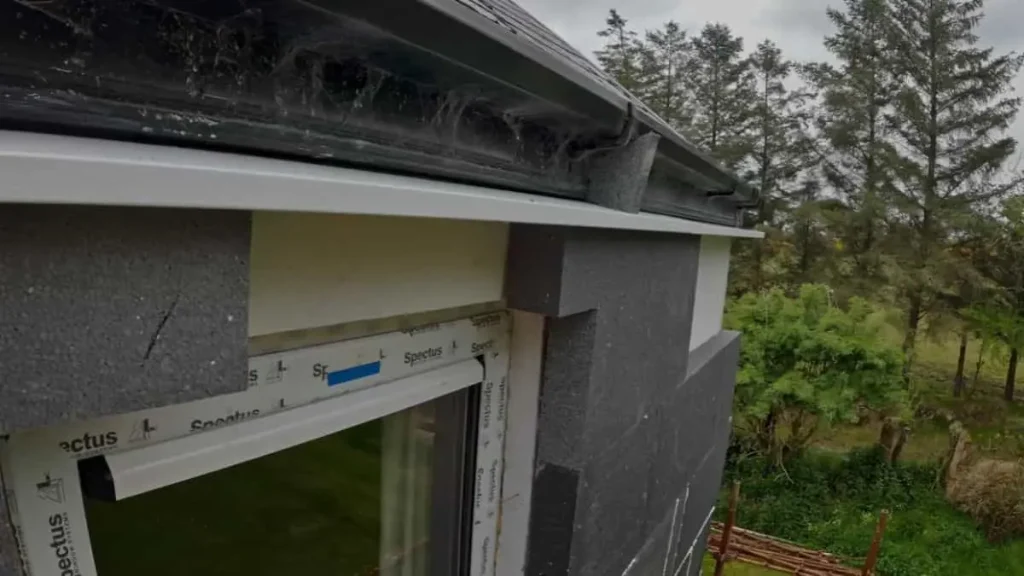
4. Adding Overhang Protection
If your roof has no overhang, it can pose a problem during heavy rain or snowfall. Water can seep into the roof and cause damage to your house’s interior walls and foundation. The good news is that you can add overhang protection to your roof to prevent such damage.
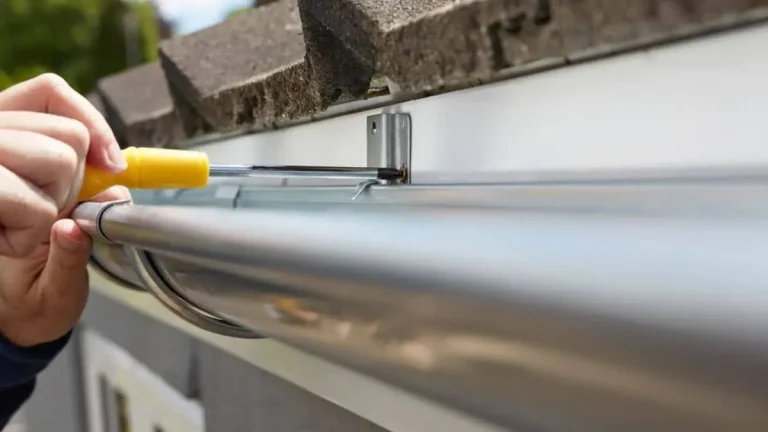
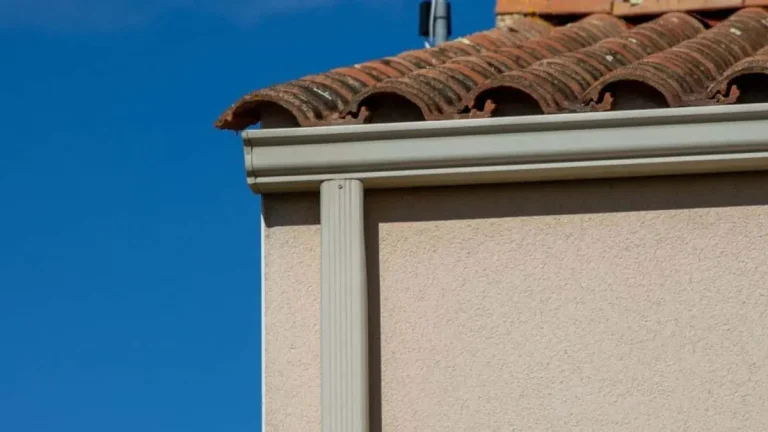
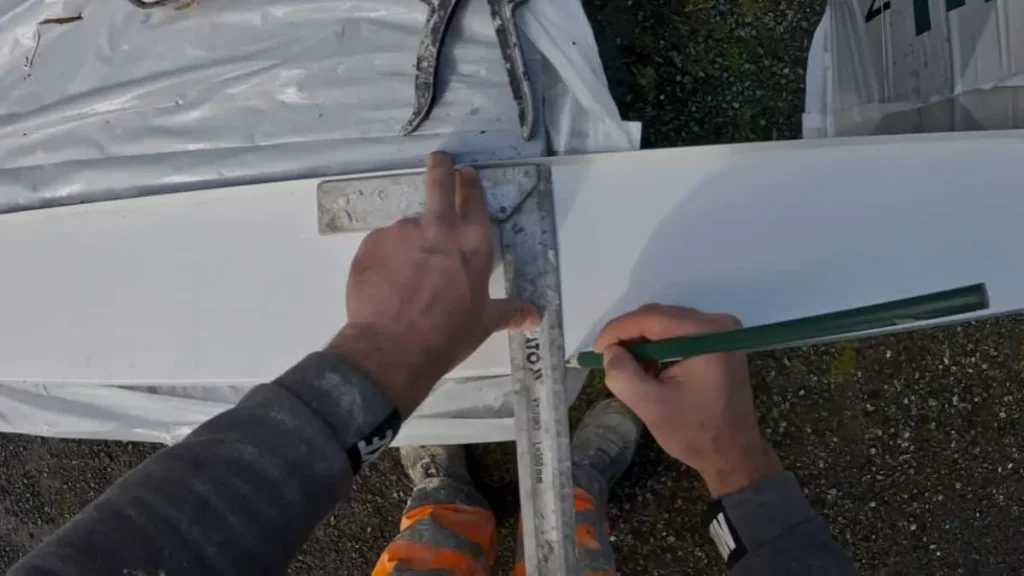
Installing Drip Edge
Drip edge is a metal flashing that is installed on the edge of the roof to prevent water from seeping under the shingles and into the roof. It is a simple and cost-effective way of adding overhang protection to your roof. Here are the steps to install drip edge:
- Measure the length of the eave and cut the drip edge to the required size.
- Place the drip edge on the eave, making sure that it overhangs the edge by at least 1 inch.
- Nail the drip edge to the roof deck, spacing the nails about 12 inches apart.
- Install the shingles over the drip edge, making sure that the shingles overhang the drip edge by at least 1/2 inch.
Recommended Read: Gutter Screws Through Drip Edge: Tips For A Secure Installation
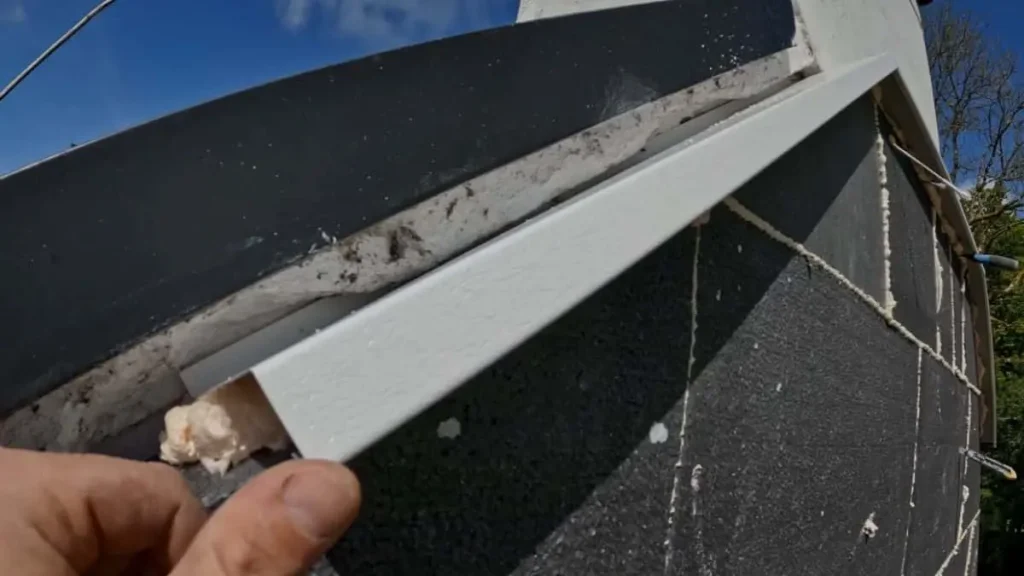
Creating A Diverter System
If your roof has no overhang, you can create a diverter system to redirect water away from the edge of the roof. Here are the steps to create a diverter system:
- Measure the length of the eave and cut a piece of metal flashing to the required size.
- Bend the metal flashing into an L-shape, with one leg longer than the other.
- Place the longer leg of the metal flashing on the roof deck, making sure that it overhangs the edge by at least 1 inch.
- Nail the longer leg of the metal flashing to the roof deck, spacing the nails about 12 inches apart.
- Install the shingles over the shorter leg of the metal flashing, making sure that the shingles overhang the flashing by at least 1/2 inch.
5. Enhancing Roof Durability
Enhancing roof durability is vital to prevent damage caused by weather elements such as rain, snow, and wind. Here, we will discuss two essential methods to enhance your roof’s durability: applying roof sealant and implementing regular maintenance practices.
Applying Roof Sealant
Roof sealant is an effective way to protect your roof from water damage. It is a waterproofing material that seals any gaps or cracks in your roof, preventing water from seeping through. Applying roof sealant is a simple process that can be done by anyone. Here are the steps to follow:
- Clean the area around the gap or crack with a wire brush and remove any debris.
- Apply the roof sealant with a brush or putty knife, making sure to cover the gap or crack completely.
- Allow the sealant to dry completely before applying a second coat if necessary.
Implementing Regular Maintenance Practices
Regular maintenance can help identify and fix any potential issues before they become major problems. Here are some maintenance practices to implement:
- Inspect your roof regularly for any signs of damage such as cracked or missing shingles, rusted flashing, or worn-out sealant.
- Clean your gutters and downspouts regularly to prevent water buildup on your roof.
- Trim any overhanging tree branches that can cause damage to your roof.
- Hire a professional roofing contractor to inspect your roof annually and make any necessary repairs.
6. Final Checks And Cleanup
After completing the necessary repairs on a roof with no overhang, it’s important to conduct final checks and ensure a thorough cleanup of the work area. This step is crucial to guarantee the long-term durability of the repairs and the safety of the surrounding environment.
Inspecting The Repairs
Before considering the job complete, it’s essential to thoroughly inspect the repairs. Check for any loose shingles, damaged flashing, or signs of leakage. Ensure that all the materials used for the repairs are securely in place and that there are no visible areas of concern.
This careful inspection will help to identify any potential issues that may need to be addressed before the project is considered finished.
Cleaning The Work Area
Once the repairs have been inspected and deemed satisfactory, it’s time to focus on cleaning the work area. Remove any debris, tools, or materials that were used during the repair process.
Clearing the work area of any leftover items will not only improve the overall appearance of the roof but will also reduce the risk of potential hazards. Additionally, a clean work area will provide a better foundation for future maintenance and inspections.
Check out our guide on “Installing Gutters with No Overhang” for essential tips on protecting your home’s foundation and landscaping.
Conclusion
Fixing a roof with no overhang requires diligence and attention to detail. By following these steps, you can address common issues and protect your home from water damage and other environmental factors.
Regular inspections and maintenance are key to ensuring your roof remains in good condition. If the task feels overwhelming or beyond your skill level, don’t hesitate to seek professional help. A well-maintained roof is essential for the longevity and safety of your home.