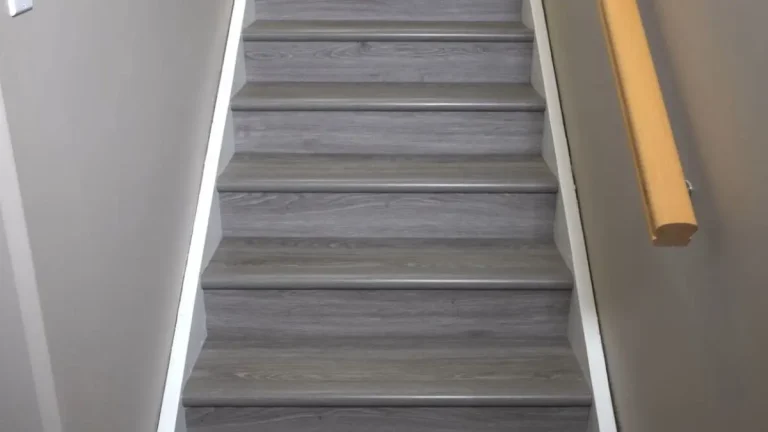
To match stairs to vinyl flooring, you can use vinyl stair treads that come in coordinating colors and patterns. Vinyl stair treads provide a seamless transition between your stairs and the flooring, ensuring a cohesive look throughout your space.
When renovating your home, achieving a cohesive look is crucial, and one of the most overlooked aspects is matching stairs to vinyl flooring. Stairs are often a central feature in a home, and ensuring they complement your flooring can significantly enhance your interior aesthetics.
This comprehensive guide will walk you through the process of matching stairs to vinyl flooring, covering everything from material selection to installation tips.
Why Match Stairs to Vinyl Flooring?
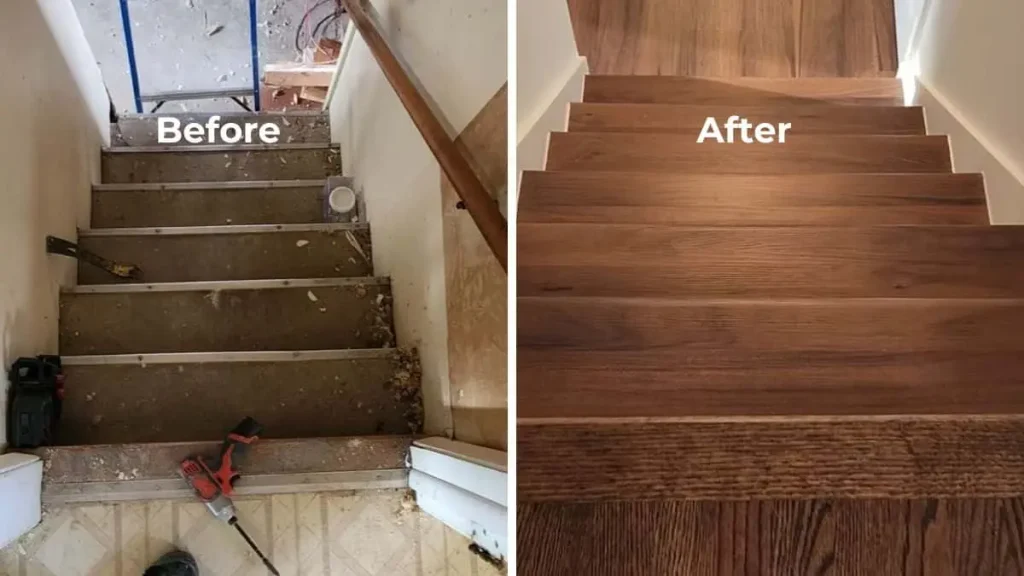
Matching stairs to your vinyl flooring creates a seamless transition between different levels of your home. It enhances the visual flow and can make spaces appear larger and more cohesive. Additionally, it ensures that the style and color scheme are consistent throughout your home, which is especially important in open-plan designs.
Preparing The Stairs
When it comes to matching stairs to vinyl flooring, proper preparation is key. Before you begin, gather the necessary tools and materials:
- Tape measure
- Utility knife
- Pry bar
- Hammer
- Screwdriver
- Wood putty
- Sanding block
- Adhesive
Measuring The Stairs
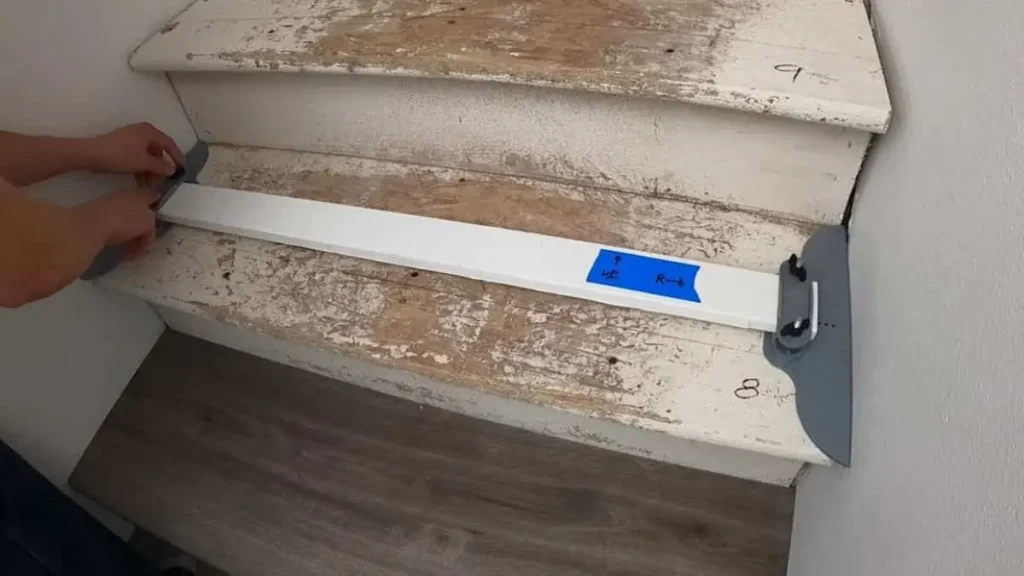
To ensure a precise fit, you’ll need to accurately measure your stairs. Start by measuring the width of each stair tread and the height of each riser using a tape measure. Record these measurements for reference later on. It’s important to note that stairs are not always perfectly even, so it’s best to measure each individual step.
Removing Existing Carpet Or Flooring
In order to install vinyl flooring on your stairs, you’ll first need to remove any existing carpet or flooring. Use a utility knife to cut away the carpet or flooring and a pry bar and hammer to carefully remove any staples or nails. Take your time during this process to avoid damaging the stairs.
Repairing Or Replacing Damaged Stairs
Before installing new vinyl flooring, it’s crucial to assess the condition of your stairs. If you come across any damaged or loose steps, take the time to repair or replace them. Use wood putty to fill in any cracks or holes and sand down any uneven surfaces. This will ensure a smooth and sturdy foundation for your new vinyl flooring.
Choosing The Right Type of Vinyl Flooring
When it comes to renovating your home, one of the key decisions you’ll have to make is choosing the right vinyl flooring for your stairs. With a wide variety of options available, it can be overwhelming to determine which type, color, and pattern will suit your needs best.
However, by considering the type of vinyl flooring, selecting the color and pattern, and determining the thickness, you can ensure that your stairs perfectly match your vinyl flooring, creating a seamless and visually appealing look.
Consider The Type Of Vinyl Flooring
Vinyl flooring comes in several types, each with its unique installation method and appearance:
- Luxury Vinyl Planks (LVP): Mimic the look of hardwood and are ideal for a classic, elegant look.
- Luxury Vinyl Tiles (LVT): Resemble stone or ceramic tiles, perfect for a more modern or rustic feel.
- Sheet Vinyl: Provides a seamless look and is often used in areas with high moisture.
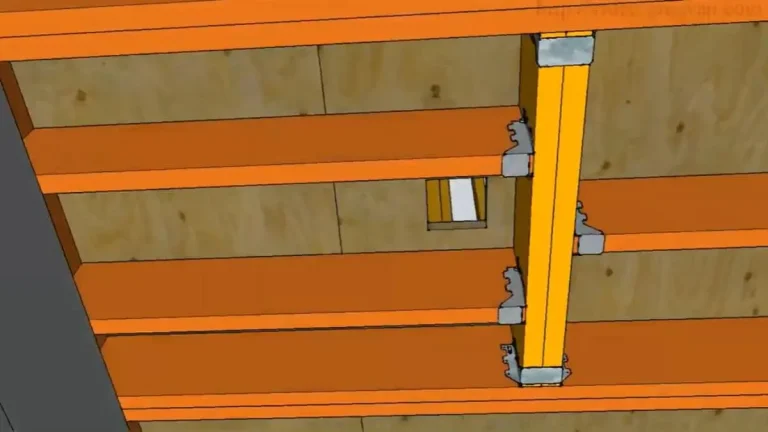
If you have a question in your mind like, “Can I use 2×12 for stair treads?” then this post is for you.
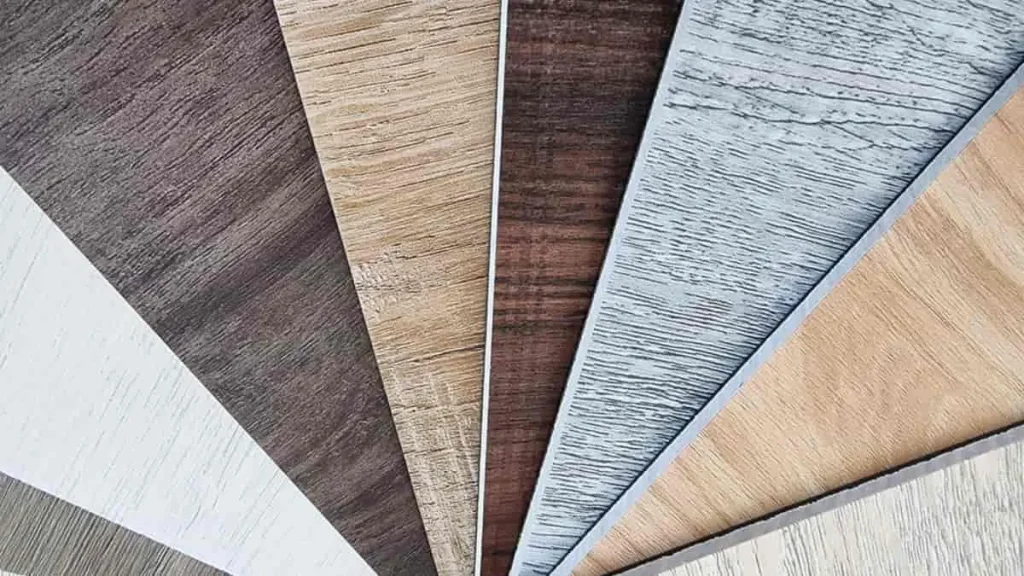
Selecting The Color And Pattern
The color and pattern of your vinyl flooring play a crucial role in the overall aesthetic of your stairs. When selecting the color, consider the existing color scheme of your home and choose a shade that complements or contrasts with the surrounding elements.
If you prefer a timeless and classic look, neutral colors like beige, gray, or brown can provide a versatile base that matches any decor style. Alternatively, bold and vibrant colors can add a pop of personality to your staircase, making a bold statement.
In terms of patterns, the choice depends on your personal preference and the design concept of your home. Whether you opt for a subtle texture, intricate geometric patterns, or natural wood grain, ensure that the pattern enhances the visual appeal of your stairs.
Determining The Thickness
Another important factor to consider is the thickness of the vinyl flooring. Thicker vinyl offers enhanced durability and resistance to wear and tear, making it more suitable for stairs that are subjected to frequent foot traffic.
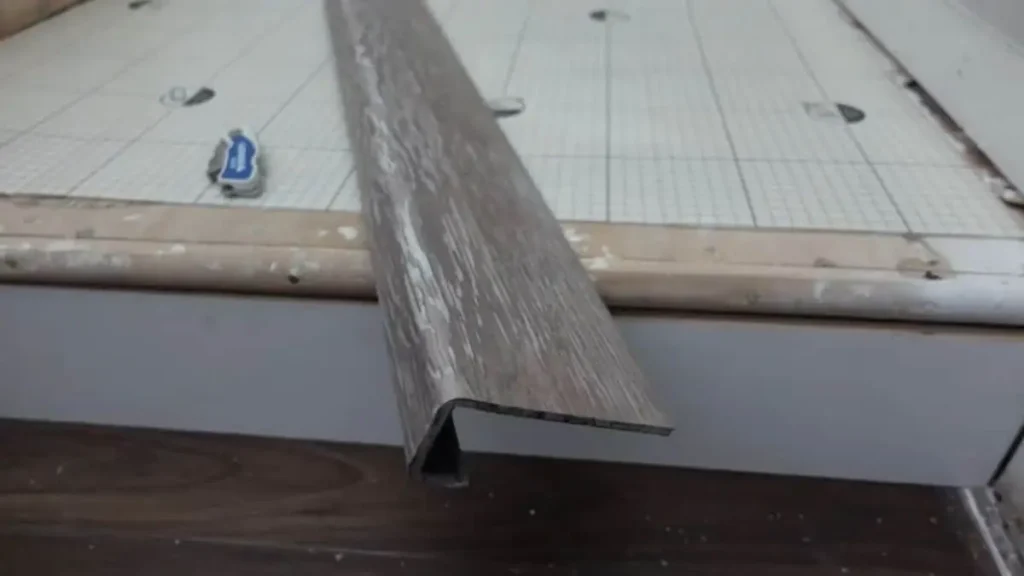
When measuring the thickness, it’s crucial to consider the presence of a nosing, which is a protruding edge that covers the front of the steps. The vinyl flooring should be thick enough to cover the nosing while maintaining a flush and seamless transition from one step to another.
Moreover, thicker vinyl also provides a more comfortable feel underfoot, reducing noise and vibration as you ascend or descend the stairs.
Removing The Old Stair Nosing
When it comes to matching stairs to vinyl flooring, one crucial step is removing the old stair nosing. Inspecting the existing stair nosing is the first task at hand. By carefully examining the condition of the nosing, you can determine the best approach for its removal.
Inspecting The Existing Stair Nosing
Before jumping into the removal process, take a few moments to inspect the existing stair nosing. Look for any signs of damage or wear that may affect the removal. Check for loose or broken pieces, as well as any adhesive or nails holding it in place. A thorough inspection will help you understand the complexity of the task ahead and ensure a smooth removal process.
Removing The Existing Stair Nosing
To remove the old stair nosing, you’ll need a few essential tools such as a pry bar, a hammer, pliers, and a utility knife. Follow these simple steps to ensure a successful removal:
- Begin by using the utility knife to cut through any adhesive or caulking along the edges of the stair nosing. This will help loosen the grip and make it easier to pry off.
- Next, use the pry bar to gently lift the edge of the nosing, starting at one end. Apply pressure gradually to avoid damaging the underlying structure or the vinyl flooring.
- Once you have lifted the edge, continue prying along the length of the nosing, working your way to the other end. Take care not to rush this process and be mindful of any nails or screws that may be holding the nosing in place.
- If there are nails or screws present, use pliers or a hammer to remove them carefully. This step is important to ensure a clean removal and prevent any damage to the stairs or vinyl flooring.
- After removing the old nosing, inspect the underlying stairs for any remaining adhesive or residue. Use a scraper or sandpaper to remove any stubborn bits, ensuring a smooth surface for the new installation.
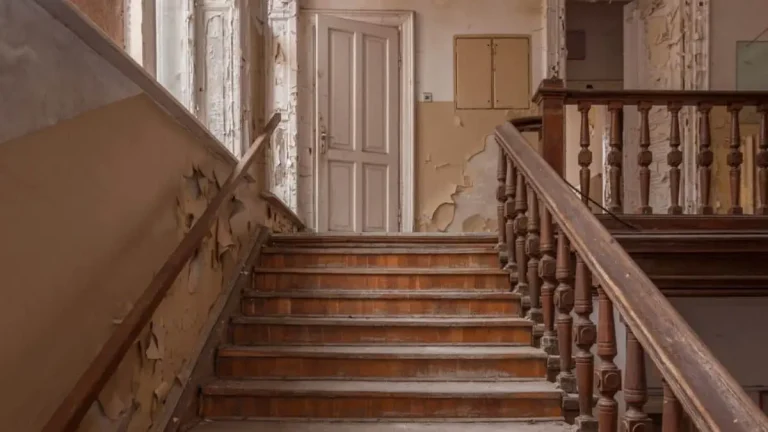
Want to update a 1980s staircase? Read this.
Cutting The Vinyl Flooring
To ensure a seamless match between your stairs and vinyl flooring, it is essential to carefully cut the vinyl to fit the shape of each stair.
Taking Accurate Measurements
Before you begin cutting the vinyl flooring, it’s important to take accurate measurements of your stairs. This will ensure that the flooring fits perfectly and avoids any gaps or overlaps. To take measurements, follow these steps:
- Start by measuring the width of each stair tread. Use a tape measure and measure from one edge to the other, making sure to account for any curved or angled areas.
- Next, measure the length of each stair riser. Again, use a tape measure and measure from the bottom of one riser to the top of the next.
- Once you have the measurements for each stair tread and riser, add a small amount (about 1/8 inch) to each measurement to account for any cutting or fitting errors. This will ensure a snug and accurate fit when installing the vinyl flooring.
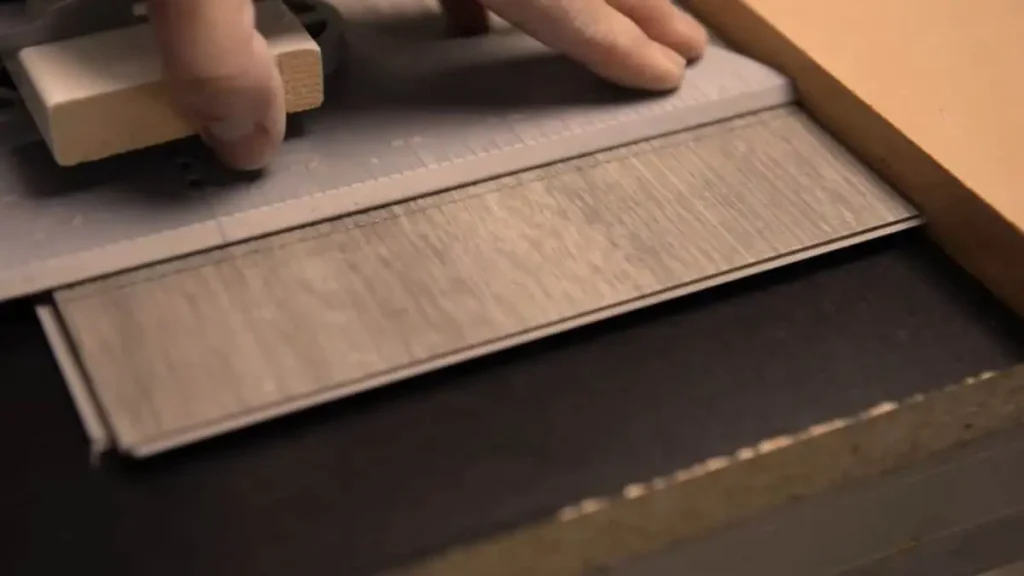
Cutting The Vinyl Flooring To Size
Once you have taken accurate measurements and gathered the proper tools, it’s time to cut the vinyl flooring to size. Follow these steps to ensure a precise and seamless fit:
- Start by laying the vinyl flooring on a clean and flat surface. Make sure the side that will be facing up is the one you want to show on the stairs.
- Use your measurements to mark the cutting lines on the back of the vinyl flooring. Make sure to use a straightedge to create straight and precise lines.
- Put on your safety goggles and gloves to protect yourself and begin cutting along the marked lines using a sharp utility knife or vinyl cutter. Apply firm and even pressure to make clean cuts.
- After each cut, carefully place the cut vinyl piece onto the corresponding stair tread or riser. Continue cutting and fitting the vinyl flooring to each individual stair until you have covered the entire staircase.
- Make any necessary adjustments or trims as you go to ensure a snug fit and a seamless appearance.
- Once all the pieces are cut and fitted, use a roller or a wooden block to smooth out and press down the vinyl flooring to ensure proper adhesion.
Installing The Vinyl Flooring on the Stairs
Learn how to seamlessly match stairs to your vinyl flooring with these easy-to-follow steps:
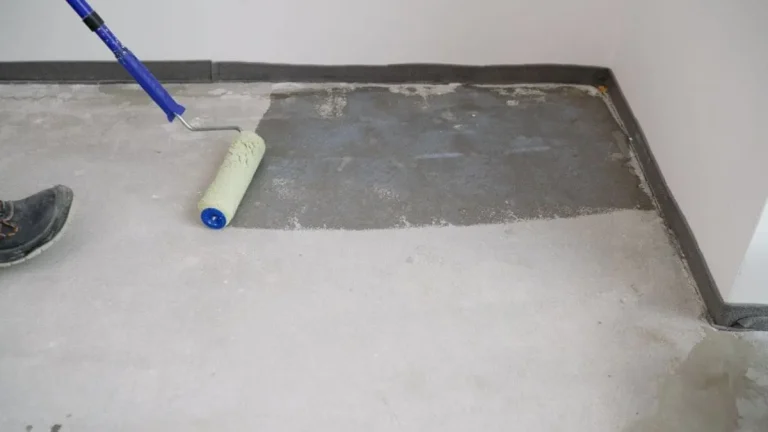
1. Applying Adhesive To The Stairs
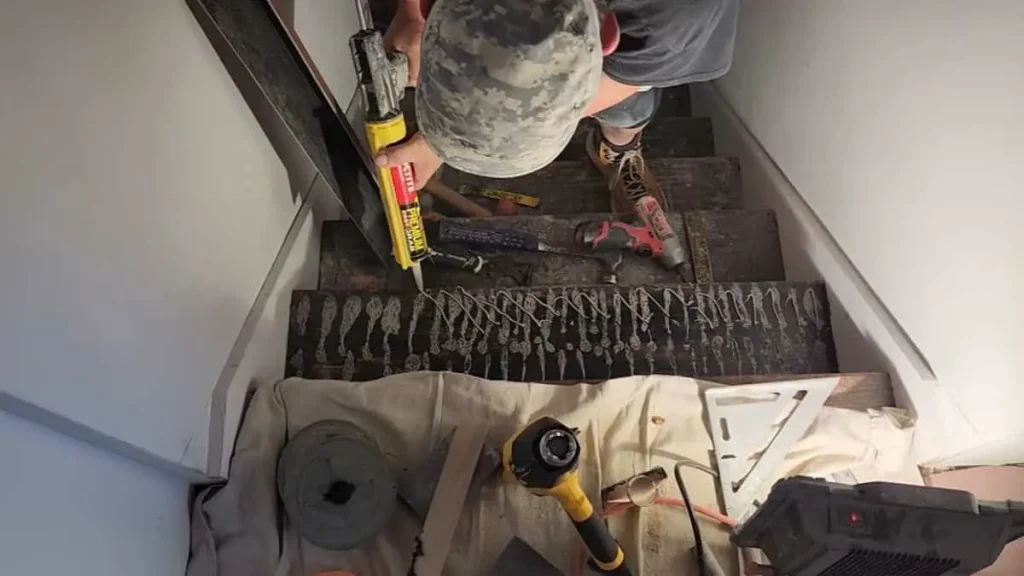
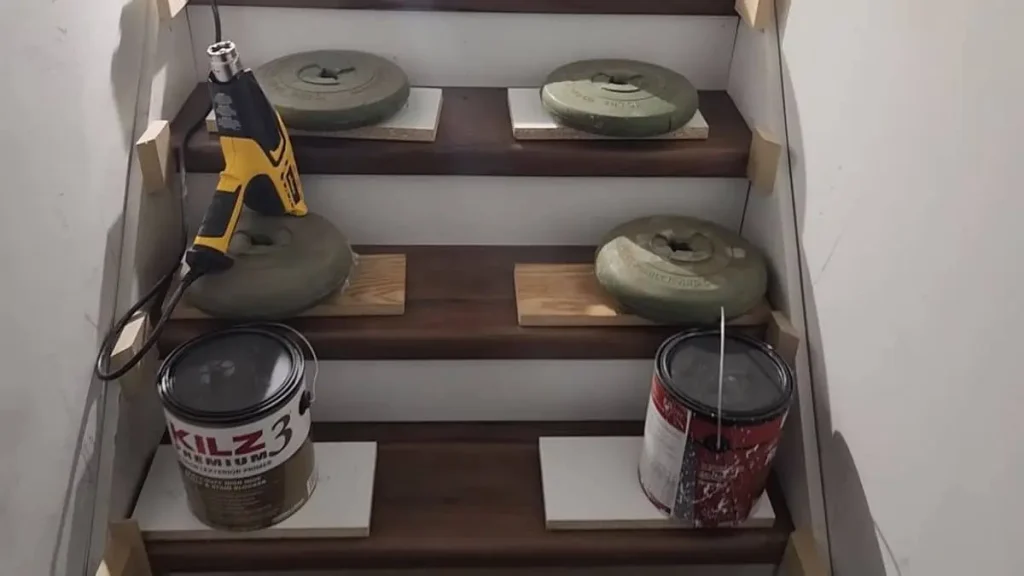
Before installing the vinyl flooring on your stairs, you need to ensure that the surface is prepped and ready to adhere to the adhesive. Start by thoroughly cleaning the stairs to remove any dirt, dust, or residue. This will help the adhesive bond better to the stairs and prevent any air bubbles or wrinkles from forming.
Once the stairs are clean, it’s time to apply the adhesive. You can use a trowel or a putty knife to spread the adhesive evenly on the stairs. Start at the bottom and work your way up, making sure to cover the entire surface.
2. Placing The Vinyl Flooring On The Stairs
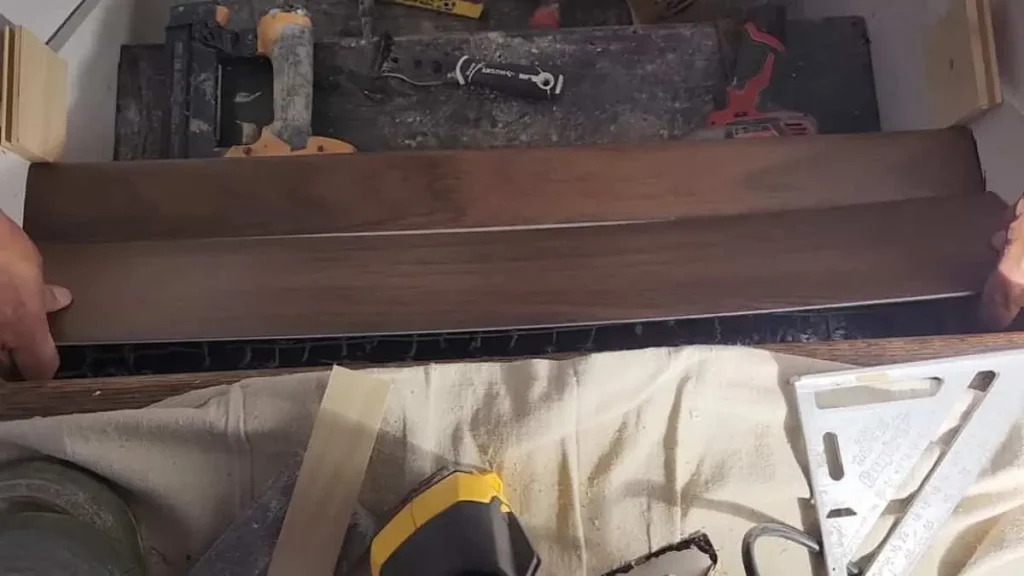
Now that the adhesive is applied, it’s time to place the vinyl flooring on the stairs. Start at the bottom of the staircase and carefully align the edge of the vinyl with the edge of the stairs. Press the vinyl firmly onto the adhesive, starting from the center and working your way out towards the edges.
As you continue to place the vinyl on each step, make sure to smooth it out with your hands as you go along. This will help ensure that there are no air bubbles or wrinkles in the flooring. Take your time to align the vinyl properly and press it firmly onto the adhesive to ensure a secure bond.
3. Smoothing Out Any Air Bubbles Or Wrinkles
Once the vinyl flooring is placed on the stairs, it’s essential to smooth out any air bubbles or wrinkles that may have occurred during the installation process. To do this, use a plastic smoothing tool or a squeegee to gently press down on the vinyl and remove any trapped air or wrinkles. Start from the center and work your way out towards the edges, applying even pressure to ensure a smooth and seamless finish.
If you come across any stubborn air bubbles or wrinkles, you can use a small pin or a utility knife to carefully puncture the bubble and release the trapped air. Be cautious when doing this to avoid damaging the vinyl or the adhesive underneath. Once all the air bubbles and wrinkles are smoothed out, your vinyl flooring will be ready to impress!
Recommended Read: Replacing stair treads built into the stringer
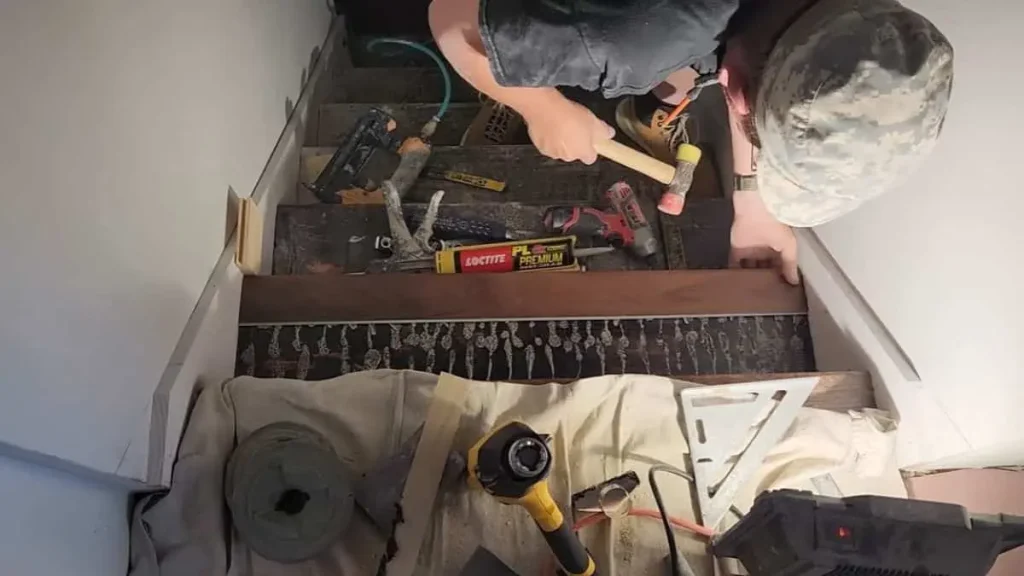
Securing The Vinyl Flooring on the Stairs
Securing your vinyl flooring properly is essential to ensure a durable and long-lasting staircase. There are a couple of methods you can use to secure the vinyl flooring to the stairs, providing a sturdy and reliable fit.
Attaching The Vinyl Flooring With Adhesive
One of the most common methods for securing vinyl flooring to stairs is by using adhesive. This method involves applying a high-quality adhesive to the back of the flooring and pressing it firmly onto the staircase surface.
When using adhesive, it’s important to ensure that the stairs are clean and free from any dust or debris. This will ensure a strong bond between the vinyl flooring and the staircase.
Here are the steps to attach vinyl flooring with adhesive:
- Clean the stairs thoroughly, removing any dirt or debris.
- Measure and cut the vinyl flooring to fit each stair precisely.
- Apply the adhesive to the back of the vinyl flooring, following the manufacturer’s instructions.
- Press the vinyl flooring firmly onto the staircase, ensuring it is aligned correctly.
- Allow the adhesive to dry according to the manufacturer’s recommendations before walking on the stairs.
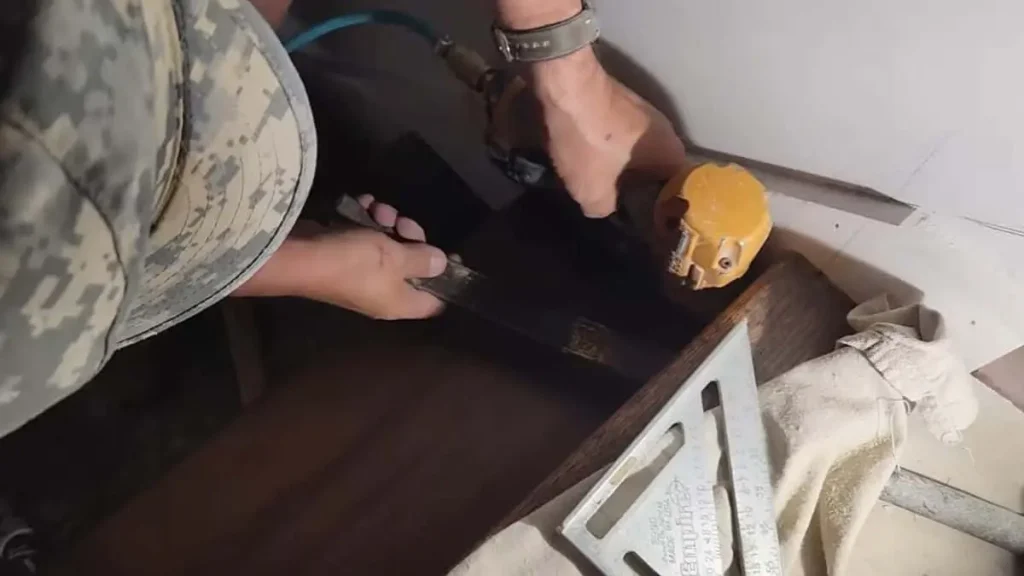
Using A Brad Nailer For Additional Support
In addition to adhesive, using a brad nailer can provide even more support and stability to your vinyl flooring. A brad nailer is a tool that shoots small nails, called brads, into the surface, securing the material in place.
Here are the steps to use a brad nailer for additional support:
- Clean the stairs thoroughly, ensuring they are free from any dust or debris.
- Measure and cut the vinyl flooring to fit each stair accurately.
- Align the vinyl flooring on the staircase properly.
- Secure the vinyl flooring with brad nails, spacing them evenly along the edges and corners.
- Be careful not to overdrive the nails, as this could damage the vinyl flooring.
Finishing Touches
Achieve a seamless transition between vinyl flooring and stairs with these expert tips. Discover how to perfectly match the two surfaces, creating a cohesive and stylish look for your space.
Installing New Stair Nosing
Follow these simple steps to install new stair nosing to perfectly match your vinyl flooring:
- Measure the width of the stairs: Before purchasing your stair nosing, measure the width of each stair carefully. This will ensure that you get the right size and avoid any gaps or uneven edges.
- Cut the stair nosing to size: Using a saw, carefully cut the stair nosing pieces to match the width of each step. Make sure to wear safety goggles and take necessary precautions while cutting.
- Apply adhesive: Using a suitable adhesive recommended by the manufacturer, apply a thin and even layer on the back of the stair nosing. This will ensure a strong bond between the nosing and the step.
- Secure the nosing: Place the stair nosing onto the edge of the step and press it firmly to ensure proper adhesion. You can use a rubber mallet to gently tap the nosing into place if needed.
- Allow the adhesive to dry: Follow the drying time recommended by the adhesive manufacturer before using the stairs. This will ensure a strong and long-lasting bond between the vinyl flooring and the stair nosing.
Trimming And Sealing The Edges
Here’s how you can achieve this:
- Trim the vinyl flooring: Use a sharp utility knife to carefully trim the vinyl flooring along the edges of each step. Take your time and make precise cuts to ensure a clean and neat look.
- Seal the edges: After trimming the vinyl flooring, apply a vinyl flooring edge-sealer to protect the exposed edges from moisture and potential damage. This will help prolong the lifespan of your vinyl flooring and maintain its aesthetic appeal.
Cleaning And Maintaining The Vinyl Flooring
Proper cleaning and maintenance of your vinyl flooring not only keep it looking fresh and elegant but also ensure its longevity. Here are some tips to clean and maintain your vinyl flooring:
- Sweep or vacuum regularly: Regularly remove dust, pet hair, and debris from the vinyl flooring using a broom or vacuum cleaner with a soft brush attachment. This will prevent scratches and keep the floor looking its best.
- Use a damp mop for deep cleaning: For a thorough clean, use a damp mop with a mild vinyl flooring cleaner. Avoid using abrasive or harsh chemicals that can damage the surface of the vinyl flooring.
- Wipe spills immediately: Accidental spills should be wiped up promptly to prevent staining or damage. Use a soft cloth or mop to absorb the liquid and clean the area with a mild cleaning solution if necessary.
- Place floor protectors under furniture: To avoid scratches or indentations, use felt or rubber floor protectors under furniture legs. This will distribute the weight evenly and prevent damage to the vinyl flooring.
- Avoid excessive moisture: Vinyl flooring is water-resistant, but excessive moisture can still cause damage. Clean up spills quickly and avoid excessively wet mopping or standing water on the vinyl floor.
Cost And Time Considerations
Estimating the cost of materials, planning for the installation process, and considering professional installation can help you make informed decisions that fit your budget and schedule. Let’s delve into each of these aspects in detail.
Estimating The Cost Of Materials
Before you begin any home improvement project, it’s essential to have a clear understanding of the costs involved. When it comes to matching stairs to vinyl flooring, the cost primarily depends on the amount of material required and the quality of vinyl you choose.
To estimate the cost of materials, consider the following factors:
- The size and number of stairs: Measure the width and length of each step and multiply it by the number of stairs to get the total square footage required.
- The quality of vinyl flooring: Vinyl flooring comes in various grades and prices. Higher-quality options may cost more initially but can offer better durability and longevity.
- Additional materials: Depending on the installation method and the condition of your stairs, you might need adhesives, underlayment, or transition strips. Ensure to include these extra costs in your estimate.
Considering Professional Installation
If you’re not confident in your DIY skills or simply prefer to leave the task to the experts, considering professional installation is a wise choice. Hiring experienced flooring professionals can save you time and ensure a high-quality result.
Here are a few reasons why professional installation might be worth considering:
- Expertise and experience: Flooring professionals have the necessary knowledge and tools to handle the intricacies of stair installations. They can provide precise measurements, seamless transitions, and avoid potential pitfalls.
- Time-saving: Professionals can complete the job efficiently, saving you valuable time and effort. They also have access to specialized equipment that can make the installation process quicker and more hassle-free.
- Warranty and Guarantee: Reputable flooring professionals often offer warranties or guarantees on their workmanship. This can provide added peace of mind, knowing that you’re covered in the unlikely event of any issues.
While professional installation may involve an additional cost, it can be a worthwhile investment, especially if you prioritize a stress-free and professionally finished outcome.
Conclusion
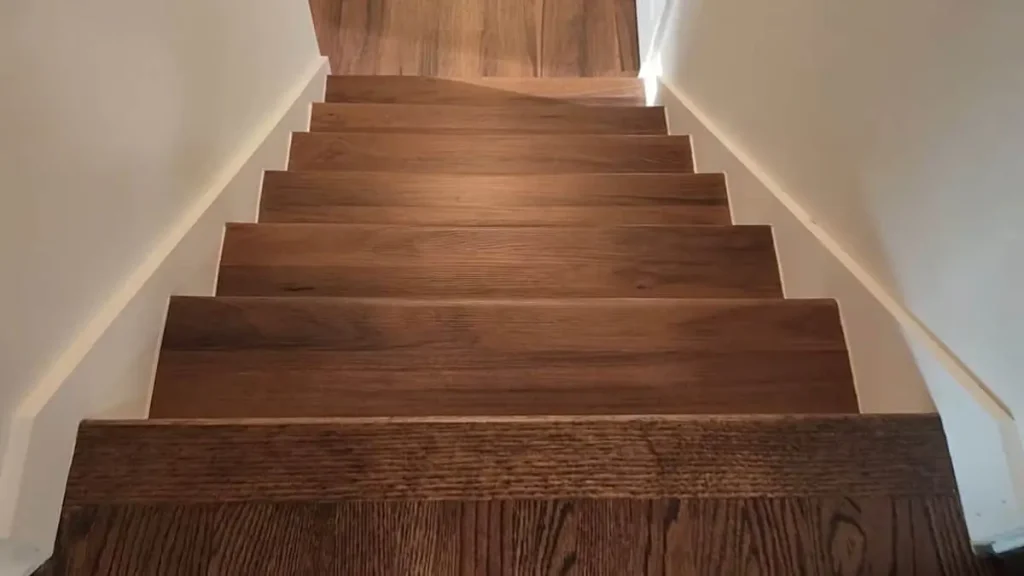
Matching your stairs to your vinyl flooring is a straightforward process that can significantly enhance the overall look of your home. By carefully selecting the right type of vinyl flooring, preparing your stairs properly, and paying attention to detail during installation, you can achieve a seamless and stylish transition from floor to stairs.
Whether you opt for luxury vinyl planks, tiles, or sheet vinyl, this guide provides the steps you need to create a cohesive and aesthetically pleasing home interior. Happy renovating!